Our editorial team individually chooses every product that is suggested on neatcupkit. We might get paid if you buy something after clicking on any of these links.
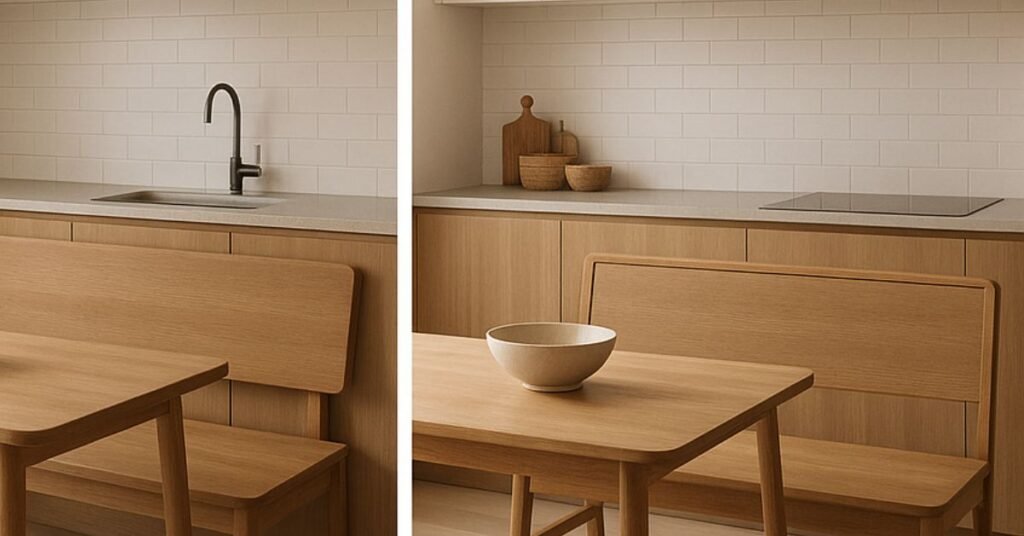
Dreaming of a cozy and functional kitchen upgrade? Let’s explore how to build a kitchen bench seating with storage. This DIY project is perfect for maximizing space and adding a touch of charm to your kitchen or dining area. A banquette bench can transform your space into a comfortable and inviting haven.
Introduction to Kitchen Bench Seating
Adding banquette seating to your eat-in kitchen can be a great upgrade. It creates a seating area where you can relax and enjoy time with family and friends. A built-in bench feels like a welcoming space to sit awhile, read, chill, do homework, or chat.
Why Choose a Bench with Storage?
If your dining room is small, a dining table can feel awkward. A built in bench with storage allows the table to fit more comfortably. This maximizes your kitchen space and provides valuable built in storage.
Benefits of DIY Banquette Seating
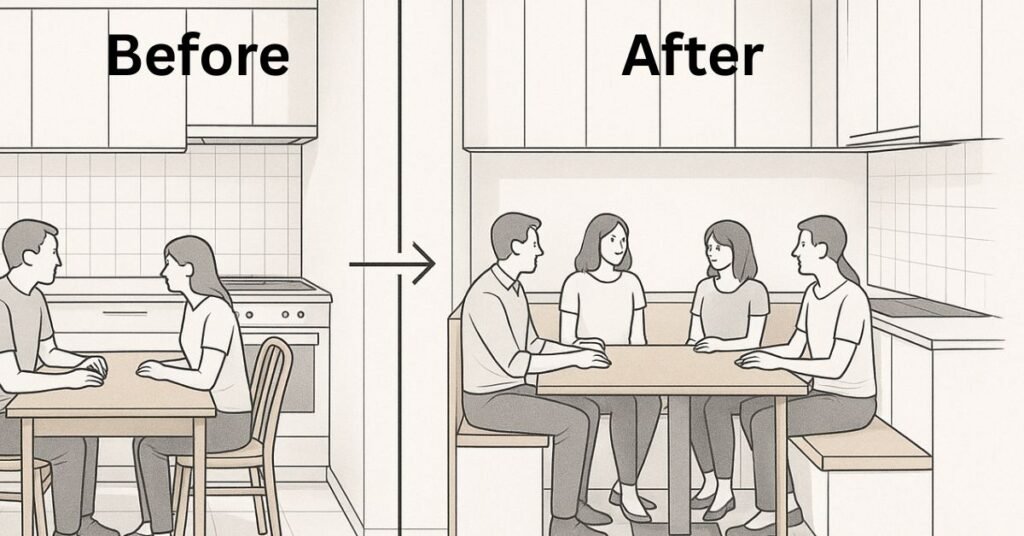
Adding bench seating saves valuable space. It allows you to seat more people in a space that would otherwise feel cramped with chairs. The added comfort and interest invites you to sit and stay awhile. This can easily be achieved by a diy banquette.
Maximizing Small Spaces
If you are looking to maximize small spaces, then learning how to build a kitchen bench seating with storage is for you. It is a project that will add so much function and value to your kitchen or dining area. Banquette seating is perfect for small homes.
Why Build a Kitchen Bench with Storage?
There are countless reasons to undertake a DIY project and learn how to build a kitchen bench seating with storage. From maximizing space to adding a personal touch, a storage bench can transform your kitchen. A step-by-step tutorial will make it easy.
Space-Saving Solutions
Yes, adding bench seating saves space by allowing you to seat more people. This creates a seating area that can accommodate more guests. Banquette seating is an incredible solution for small spaces. You can also use the built-in storage under the bench seat to keep things stored.
Added Seating Capacity
Imagine comfortably accommodating more guests without overcrowding your kitchen. With a bench seat, you can easily increase your seating area. This makes it perfect for family gatherings or dinner parties. You can find plans for this bench online.
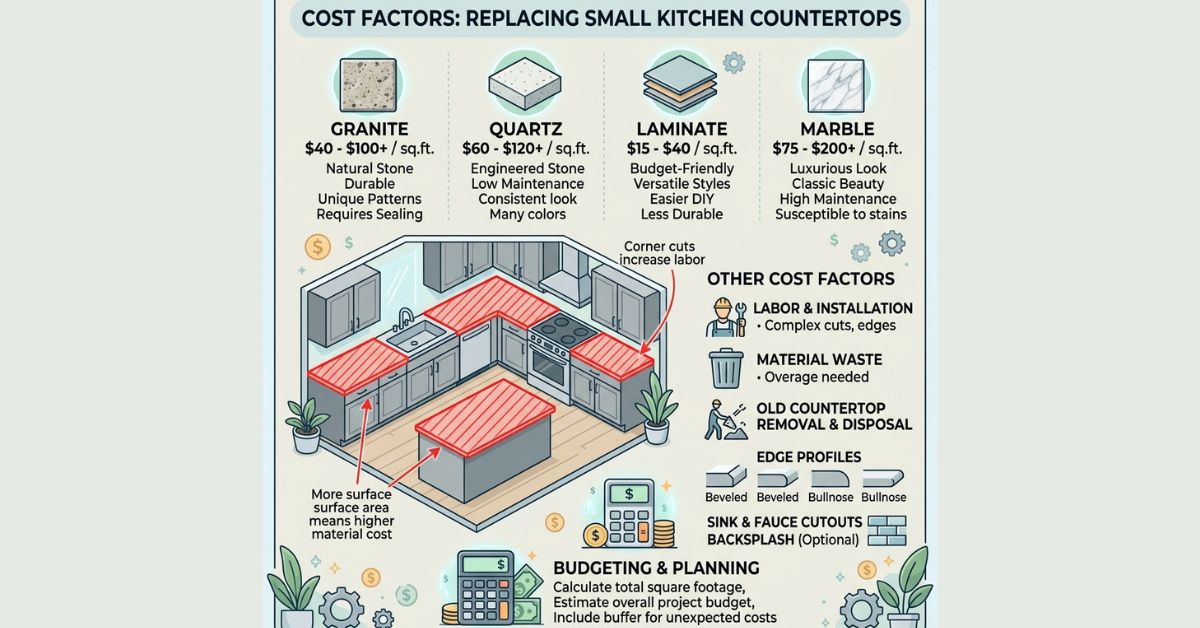
Cost-Effectiveness Compared to Store-Bought Units
Building your bench with storage can save you a considerable amount of money. For example, an 8-foot x 10-foot bench, 2 feet deep, might cost under $300 in materials. Similar-sized benches often cost upwards of $5000, so building it yourself can be a money saver. You can use 2x4s and plywood for an affordable solution.
How to Build a Kitchen Bench Seating with Storage (Step-by-Step)
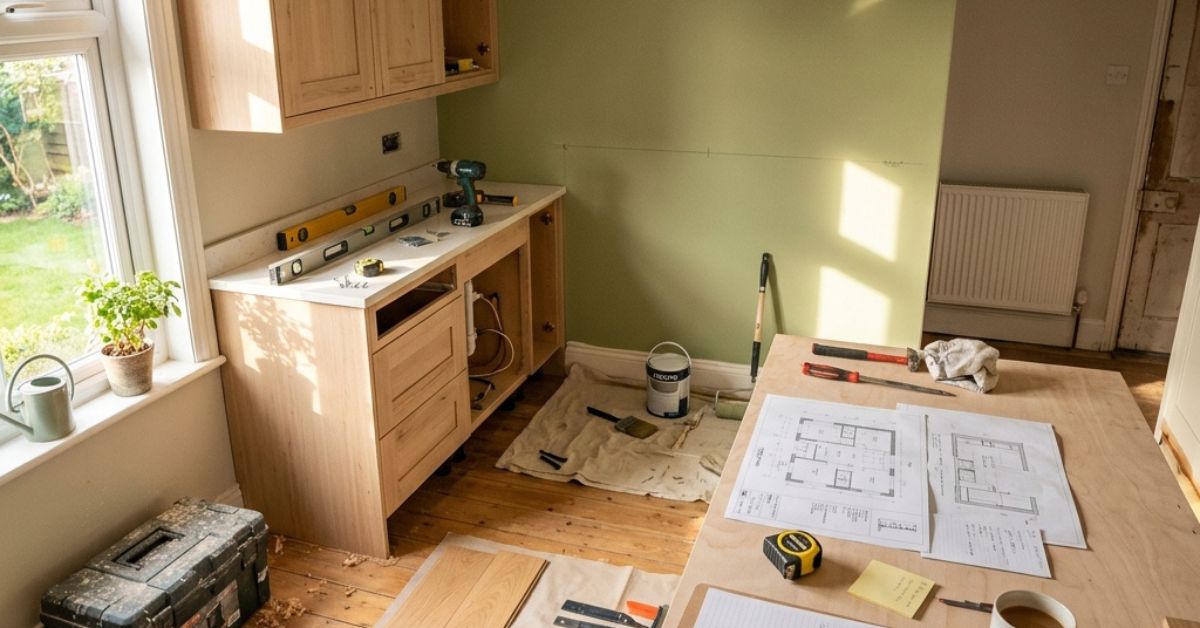
Step 1: Planning and Measuring Your Space
Before starting this DIY project, remember that accurate measurements are essential. Specifically, you’ll need to:
Measure the wall length where you intend to install the bench seat.
If the wall is even, cut four 2x4s to be 1 inch shorter than the wall length.
Proper planning, including these measurements, ensures your bench with storage fits perfectly and saves time and materials.
Step 2: Choosing a Design Style
Choosing a design style is key to realizing your vision. When deciding on a style, you might consider options such as:
A simple straight bench seat
An L-shaped banquette
A corner bench
The step-by-step tutorial will then vary slightly depending on the specific option you choose.
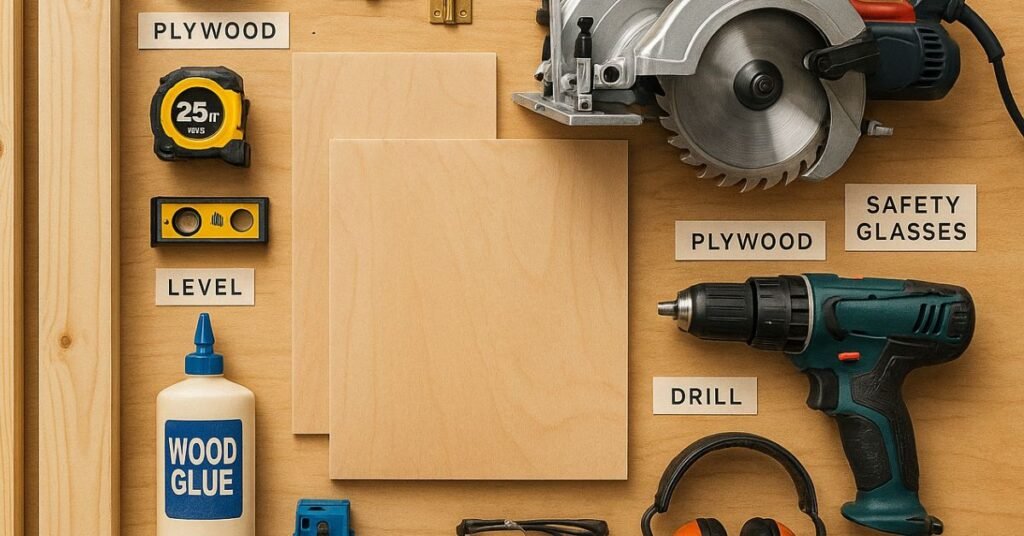
Step 3: Gathering Materials and Tools
Having the right materials and tools on hand makes the project go smoothly. For a bench that is 6’5″ long, you’ll need to gather the following materials:
You’ll also need a miter saw, drill, nail gun, and kreg jig. Ensure you have everything before you begin so that you don’t need to pause during construction.
Step 4: Building the Frame and Seating
Creating a solid foundation is crucial for your bench frame. Lift the bottom of the bench seat so you can wrap around your existing baseboard. Assemble the base by screwing smaller pieces to longer ones. Cut a piece of plywood for the base, and two panels for the sides. You can adjust the height for your space.
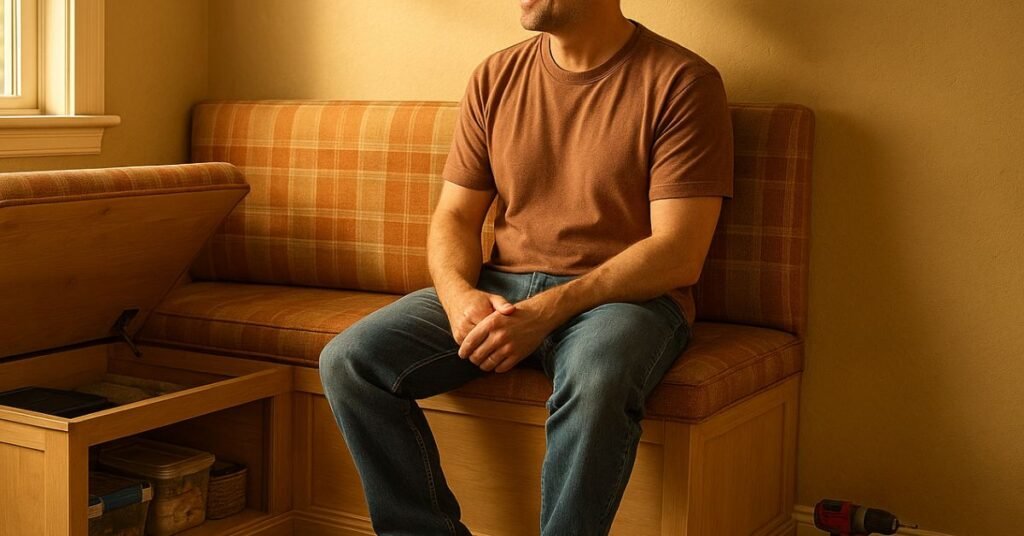
Step 5: Installing Storage Compartments
To make access to the storage easier, install hinges on the bench top. This allows you to lift the top and store items inside. The built in storage maximizes the functionality of your banquette bench. With storage space, you can keep the items you use most handy and still out of the way.
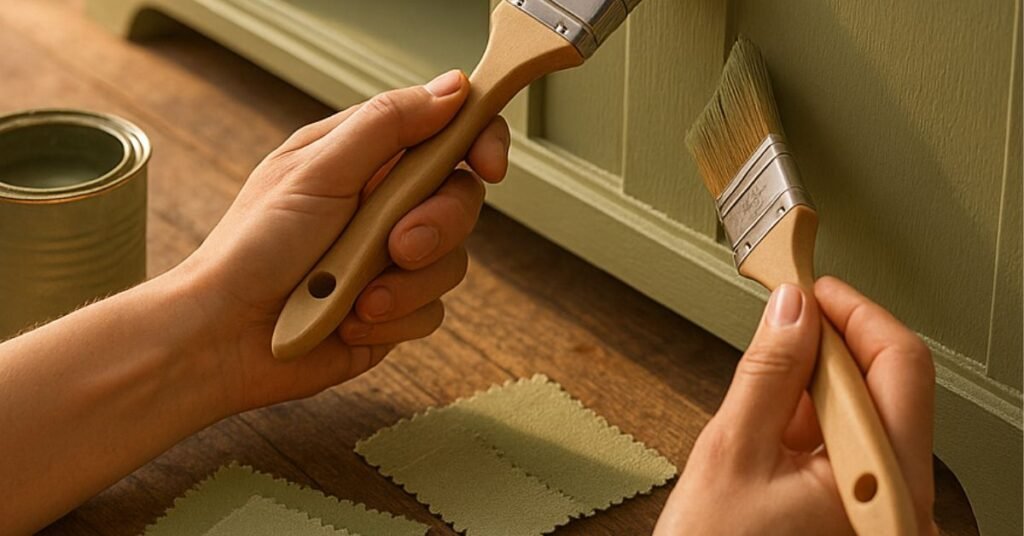
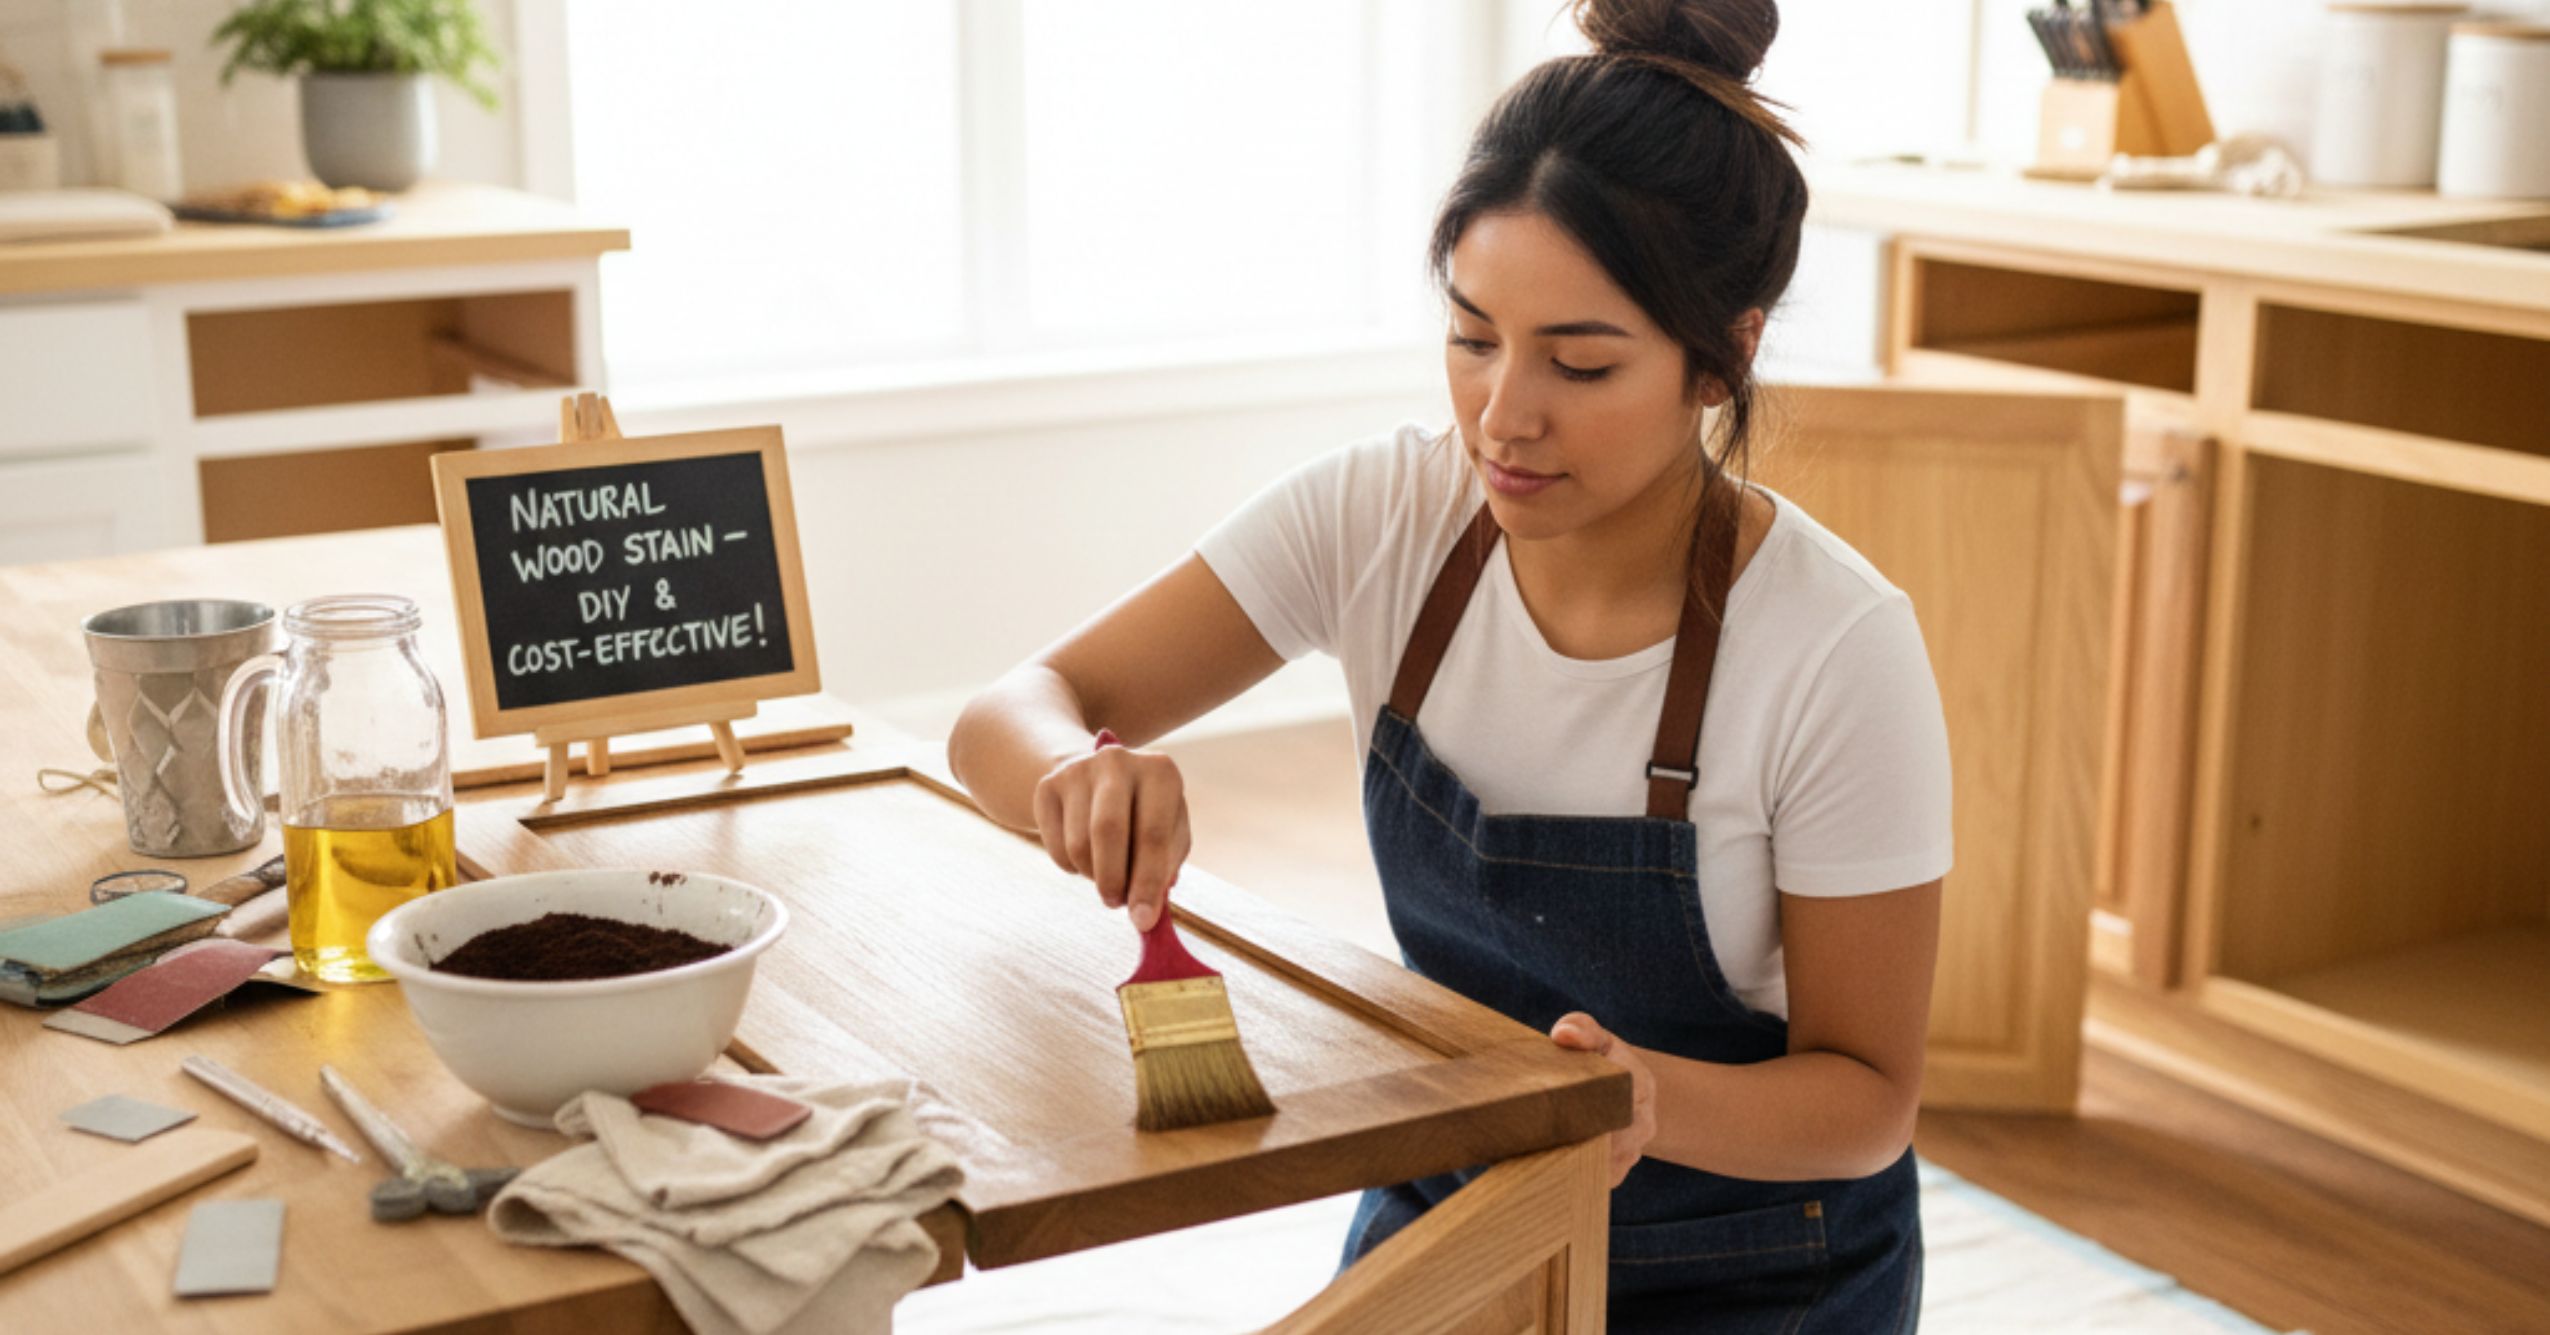
Step 6: Finishing Touches
Before painting, use wood filler to fill any imperfections in the plywood. Then, prime and paint your bench seat to match your kitchen decor. Add cushions or upholster the bench top for added comfort. Finally, attach your trim board and apply caulk to create a seamless transition with the surrounding walls.
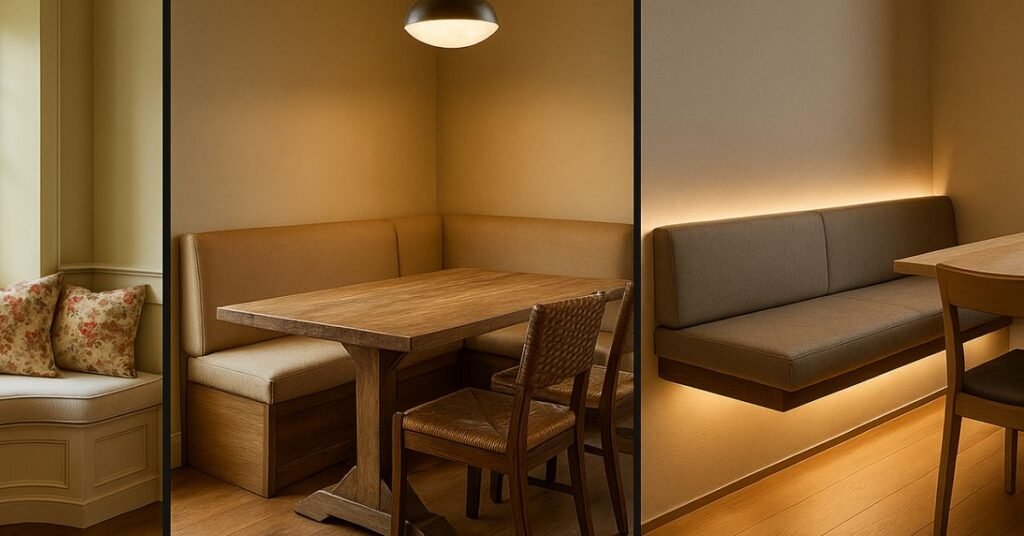
Popular Styles & Placement Ideas
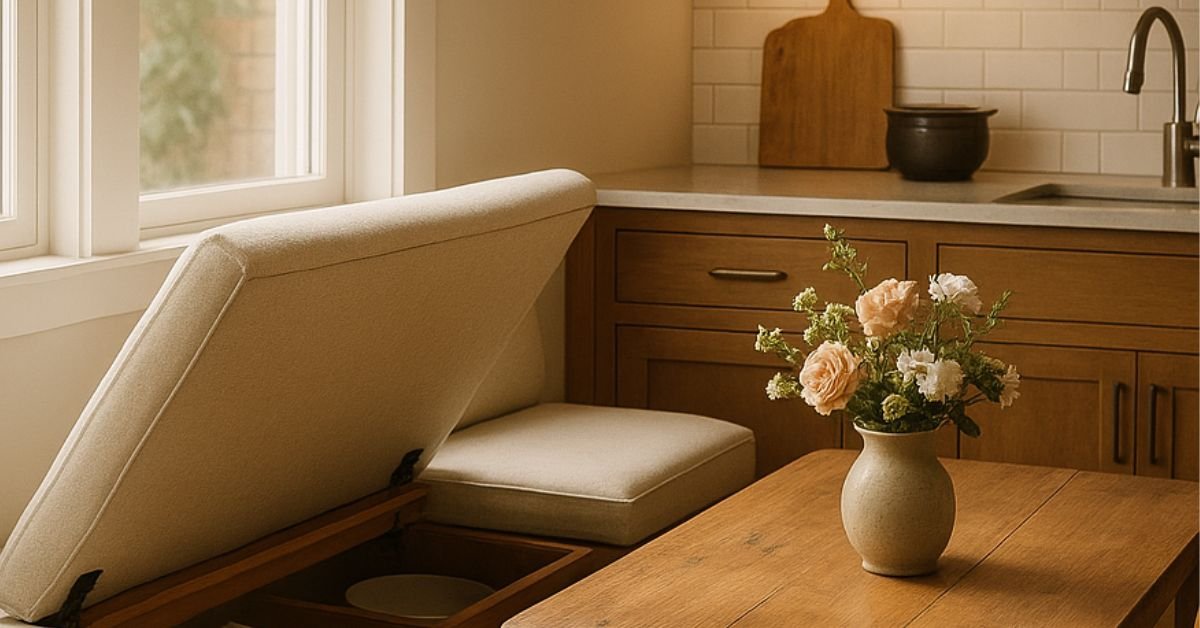
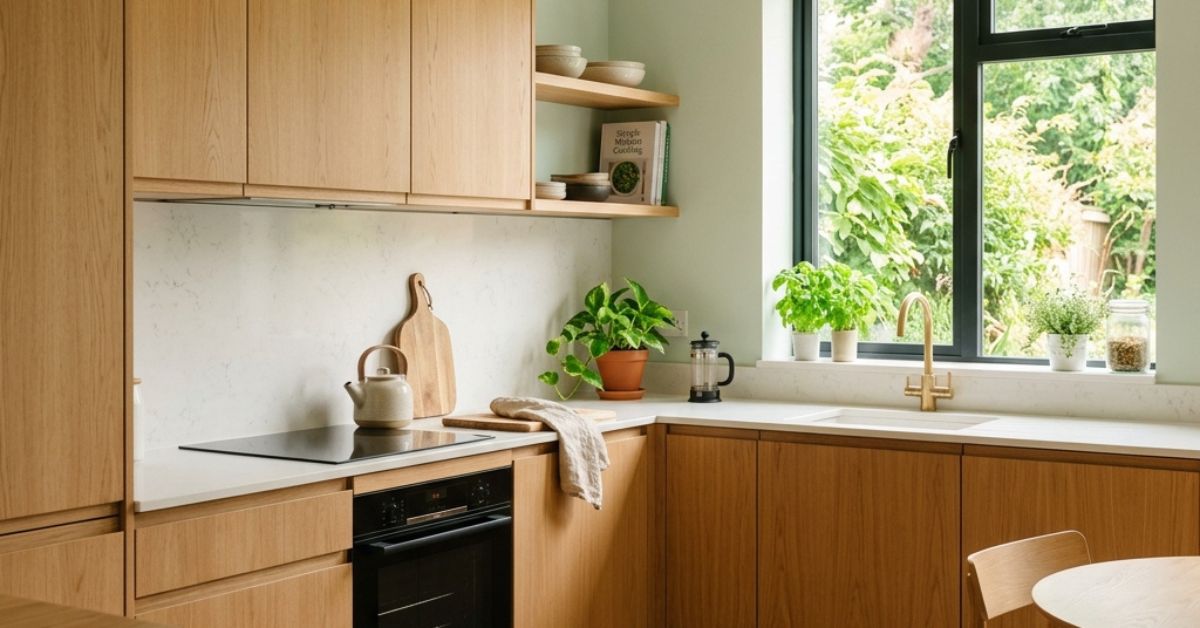
Window Nook Inspiration
A window nook is a charming spot for a banquette bench. Imagine enjoying breakfast with natural light streaming in. Use decorative pillows and comfortable cushions. This creates a cozy and inviting seating area for your dining table.
Dining Corner Bench Options
Transform your dining table by placing a corner bench in your dining area. This setup maximizes space and creates a cozy atmosphere. A bench with storage can hold linens, dishes, or other dining essentials. This makes it a functional and stylish addition to your home.
Wall Bench Considerations
Consider building the bench seat directly into the wall to save money and space. This alternative eliminates the need for extra wood for the bench frame. If you plan to replace the floor, a freestanding built-in bench offers more flexibility. It can also be attached to a stud.
Tips for Durability, Storage Efficiency, and Comfort
When undertaking a DIY project to construct a bench with storage, consider the long-term use and how to maximize both durability and comfort. Using appropriate materials, smart design choices, and careful installation techniques can ensure that your banquette not only looks great but also stands the test of time, offering both practical built in storage and a comfortable seating area for years to come.
Best Materials for Kitchen Environments
Selecting the right materials for your kitchen environment is crucial for the longevity of your bench with storage. Opt for moisture-resistant plywood for the bench frame to withstand spills and humidity. Solid wood, like oak or maple, is excellent for the bench seat and trim board due to its durability. You can attach these using a nail gun and wood glue.
Adding Ventilation and Support
To ensure your storage bench remains fresh and functional, incorporate ventilation into the design. Drill small pocket holes or openings in the plywood of the bench frame to allow air to circulate and prevent moisture buildup. Add support beams made from 2x4s under the bench seat to enhance stability, especially for larger banquette bench designs. This will keep your bench seat strong.
Safety Tips for Secure Installation
Safety is paramount when installing your DIY banquette. Securely attach the bench with storage to the wall using appropriate fasteners that can bear the weight. If the bench seat is freestanding, ensure it is stable and won’t tip over. For a built-in look, caulk along the baseboard and wall to prevent slipping. This is especially important if you plan to upholster the top of the bench.
Conclusion
Building your own kitchen bench seating with built in storage is a rewarding DIY project. A step-by-step tutorial helps you create custom banquette seating that’s both functional and beautiful. The bench adds valuable storage space and a cozy seating area. Enjoy your new dining bench!
Recap of DIY Storage Bench Advantages
To recap, a DIY storage bench offers numerous advantages, including maximized space, added seating area, and customized design. By following a step-by-step tutorial, you can create a functional and aesthetically pleasing piece of furniture. A banquette bench will enhance your kitchen or dining area while providing practical built in storage.
Encouragement to Customize
Don’t hesitate to personalize your bench with storage to fit your unique style and needs. Choose your favorite paint color, add comfortable cushions, and select hardware that complements your kitchen decor. Consider the height, depth, and wall length when crafting your own custom design. Tailor the bench seat to your family’s preferences.
You may have some questions about building a kitchen bench seating with storage. This DIY project can be easy with a little woodworking knowledge. Follow a step-by-step tutorial to learn the process. Here are some frequently asked questions to guide you.
What Type of Wood is Best for a Kitchen Bench with Storage?
For a kitchen bench seating with storage, durable plywood is excellent for the bench frame. For the bench seat and trim board, choose solid wood, such as oak or maple. Select materials that can withstand moisture and daily wear and tear for a long-lasting banquette bench.
Can I Build a Bench Without Advanced Carpentry Skills?
Yes, building a bench with storage is achievable even without advanced carpentry skills. By following a step-by-step tutorial and using basic tools like a drill and saw, you can create a functional banquette bench. Simple designs and careful measurements will help you achieve a successful DIY project.
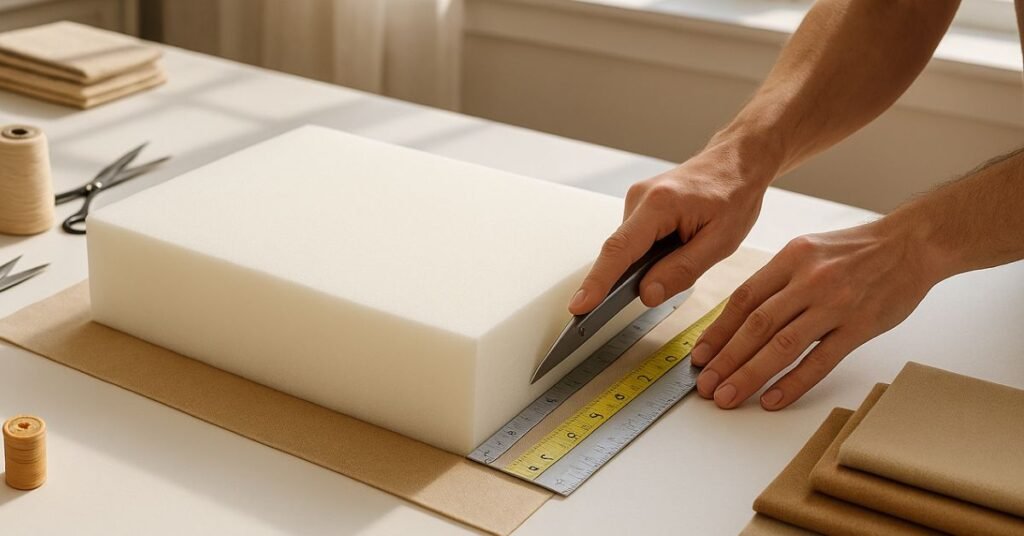
How Do I Add Cushions to the Bench Seating?
Adding cushions to your bench seat enhances comfort and style. Measure the top of the bench and cut foam to size. Wrap the foam with your chosen fabric and secure it with staples. Attach the upholstered cushion to the bench top using hinges or Velcro for easy removal and cleaning.
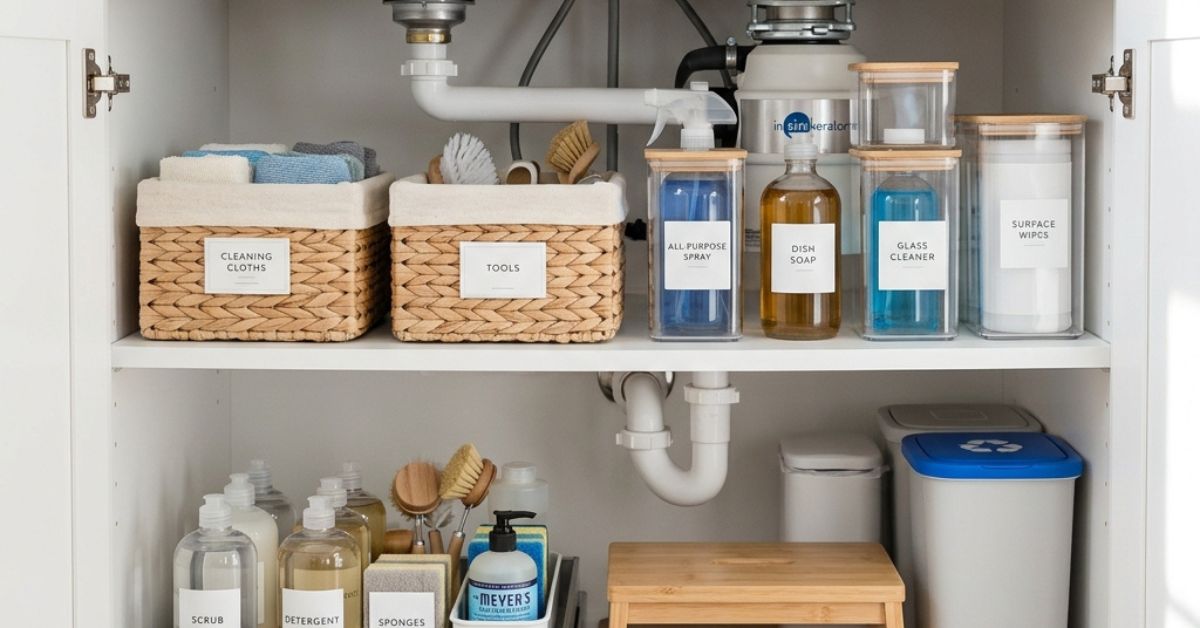
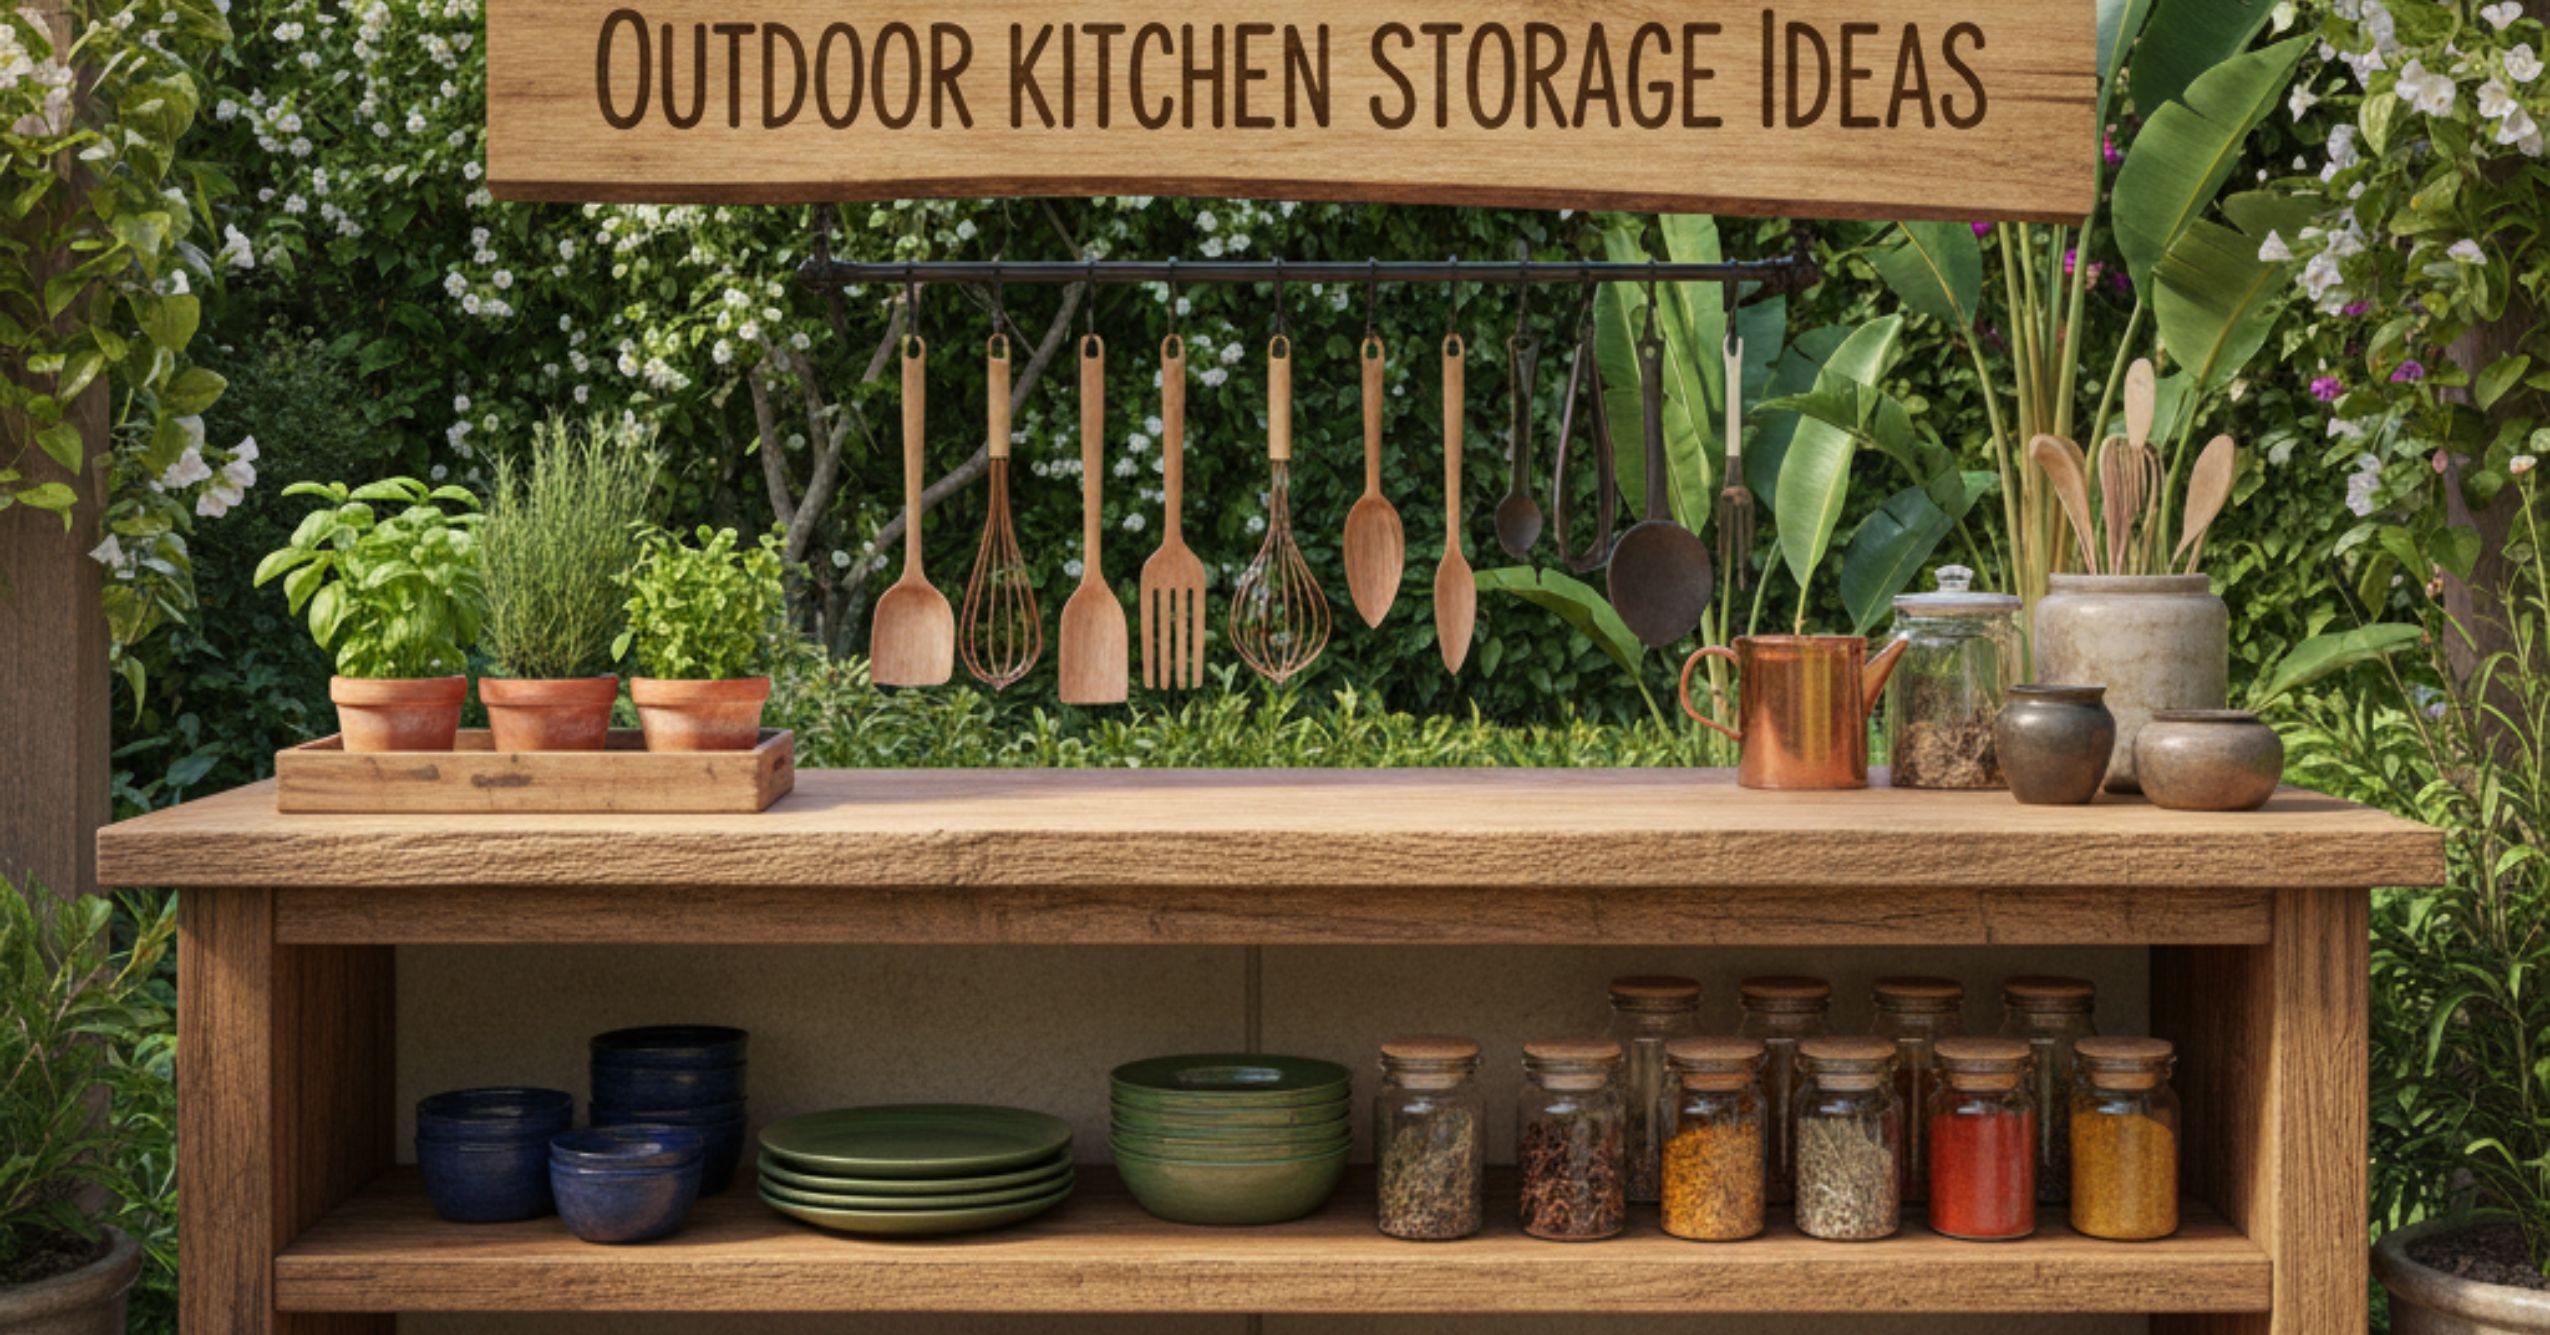
What Can I Store Inside the Bench?
The built in storage within your bench with storage can accommodate various items, from kitchen essentials to seasonal decorations. Store extra linens, dishes, cookbooks, or even children’s toys. Maximize the storage compartments by organizing items in baskets or bins for easy access to the storage.
Should the Bench Be Attached to the Wall or Left Freestanding?
The decision to attach the bench with storage to the wall or leave it freestanding depends on your preference and space. Attaching it to the wall provides added stability and a built-in look. A freestanding bench offers flexibility to move it as needed, especially during floor cleaning. Consider the wall length available.
Don't just throw away your old blender or toaster! This guide outlines four eco-friendly ways to dispose of small kitchen appliances—including donation, certified e-waste recycling, manufacturer take-back programs, and municipal bulky waste collection—so you can clear your counter space without harming the planet.
Don't just throw away your old blender or toaster! This guide outlines four eco-friendly ways to dispose of small kitchen appliances—including donation, certified e-waste recycling, manufacturer take-back programs, and municipal bulky waste collection—so you can clear your counter space without harming the planet.