

Our editorial team individually chooses every product that is suggested on neatcupkit. We might get paid if you buy something after clicking on any of these links.
Pack a kitchen for storage or moving can seem daunting, but with the right approach, it can be a smooth process. This comprehensive guide provides a step-by-step plan to ensure your kitchen items are safely packed and well-organized, whether you’re moving to a new home or storing your belongings for future use. We will delve into the best packing tips, essential packing supplies, and effective strategies to protect even the most fragile items. Explore Modern kitchen storage & organisation in our Amazon storefront.
Why Proper Packing Matters
Knowing how to pack a kitchen items properly can be the difference between a stressful move and an easy one. There is a huge range of individual items to remove from cupboards and drawers, and the difficulty factor in this room is high. This is because of all the breakable and irregular-shaped objects.
Benefits of Organized Kitchen Packing
With a bit of planning, you can simplify the kitchen packing process and tackle it like a pro. Proper planning will protect your valuable kitchenware. This will prevent breakage of fragile items, protect appliances from damage, and make unpacking easier. You’ll also avoid food spoilage and potential pest issues.
Common Mistakes to Avoid
Packing errors can lead to damage and frustration. Some frequent issues include:
Finally, people sometimes forget to properly label boxes, making unpacking a nightmare. Proper labeling can help save time when unpacking. Explore Stylish kitchen storage & organisation in our Amazon storefront.
Step 1: Declutter and Sort Your Kitchen Items
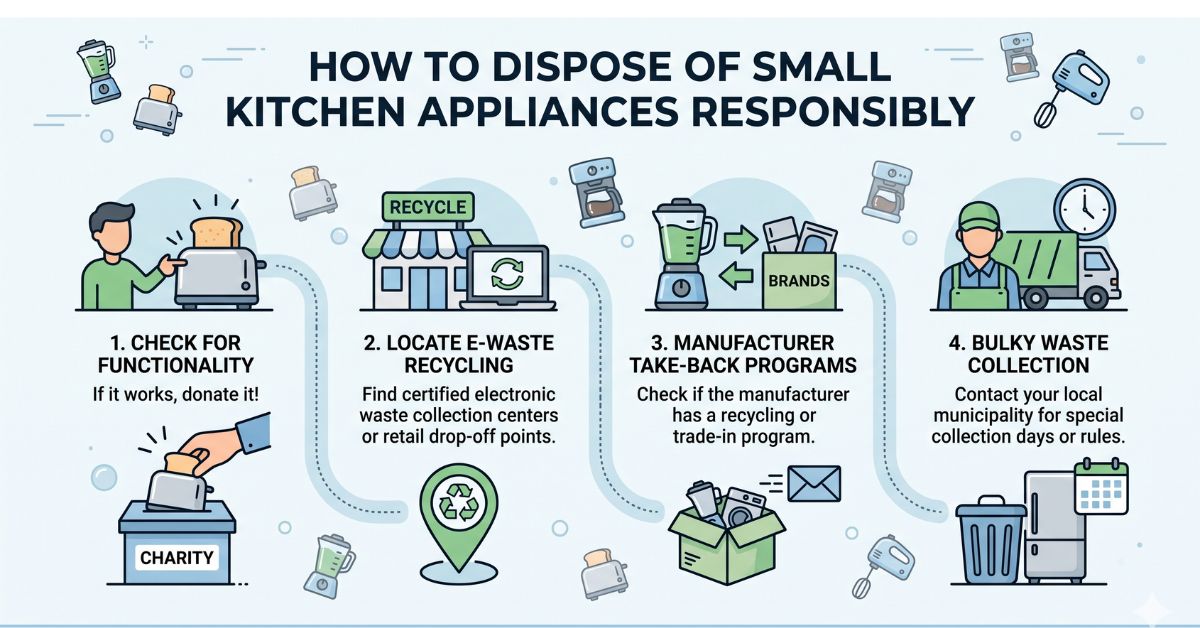
Kitchens often hold onto chipped items and unused gadgets. Check the back of your cupboards and drawers and pull out items you haven’t used in at least 12 months. Sentimental items are the exception. Working but unused appliances can be gifted. Chipped crockery should be disposed of or recycled. Moving is the best time to lighten your load.
Step 2: Gather Essential Packing Supplies
Pack a kitchen paper is essential for protecting your kitchen items, but you’ll need other supplies as well. This includes:
Heavy-duty kitchen boxes in a variety of sizes
Packing tape
You might also consider labeling markers and specialty dividers. Explore healthy kitchen storage & organisation in our Amazon storefront.
Step 3: Start Packing Non-Essential Items
For most people, packing up your kitchen ahead of time is impractical, so set aside a few essentials to pack first. These should include:
A set of plates and bowls for each member of the house
Essential utensils such as a wooden knife
A general-use frying pan and a medium-sized pot should also be included. The easiest items to pack first are infrequently used items. This can be baking supplies and special event dishes.
Protecting Glassware and Dishes
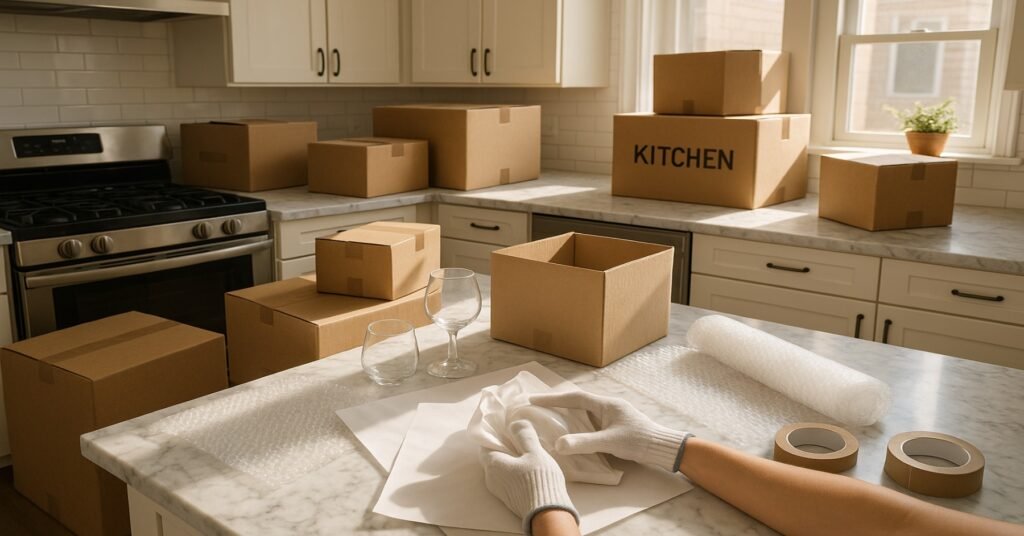
When you pack a kitchen’s fragile items such as glassware and dishes, always line the inside of your kitchen boxes with packing paper. Scrunch up some packing paper and place it at the bottom of the moving boxes. This will act as a cushion, which will protect your kitchen items when you stack them. You should also individually wrap each item in paper or bubble wrap for extra safety.
Place a plate and bowl on the packing paper and fold a couple of sheets of packing paper over it. Then, place another plate over the top. Continue this process with a stack of four plate and bowl, then wrap another layer of packing paper around them or keep the stack securely tightened with plastic wrap. When you pack a kitchen, make sure you place these bundles horizontally. Explore space saving kitchen storage & organisation in our Amazon storefront.
Glasses should always be individually wrapped, then they can be carefully placed into the second layer. Make sure you allow for enough packing paper to protect any handles if you have cups with handles. As well as wrapping your glassware carefully, use cardboard dividers that slide into your moving boxes. These dividers will protect each row from pressing against the other during transportation. It’s best not to stack anything above your stemware, even if there is room in the kitchen boxes.
Safely Packing Kitchen Appliances
When you pack a kitchen, the kitchen appliances will need special attention. Small and medium appliances are best transported individually in small boxes that will limit how much they move during transportation. For expensive and irregular shaped appliances, you should also be sure to unplug them ahead of time and prepare them for transportation. Explore must-have kitchen storage & organisation in our Amazon storefront.
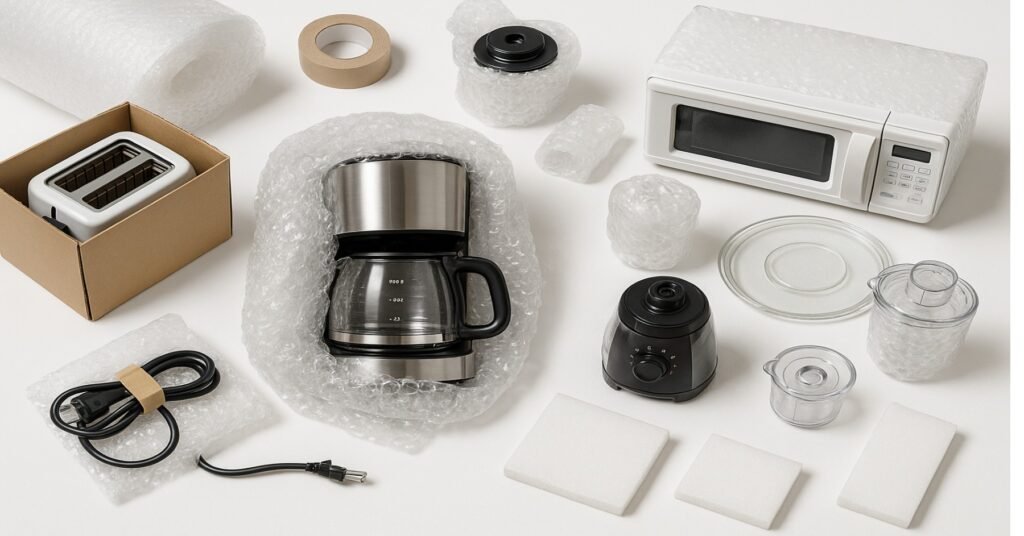
Tape down any moving parts, remove any accessories, and add pack a kitchen’s paper around them for padding once inside the kitchen boxes. Small appliances like microwaves, coffee makers, and toasters should be packed in the manufacturer’s kitchen boxes if you still have them. If you don’t, wrap each appliance in bubble wrap and secure it with packing tape.
Place each appliance in a small box or medium box and use packing peanuts or crumbled packing paper to fill the empty space. If you are hiring a moving company, check with them regarding large appliances such as dishwashers as their insurance may not cover you if you pack them without their consultation.
Wrapping Utensils and Cutlery
When you pack your kitchen, kitchen utensils can be wrapped in groupings of 4-6 to keep them uniform. They can be laid across the top of your kitchen boxes before you close them. Similarly, cutlery items should also be bundled together tightly with plastic wrap, i.e. knife with knife and spoons with spoons. Place knives on their side, never facing upwards with the point towards the openings of the box.
Some professional packers wrap plastic wrap around the entire cutlery tray and move these kitchen items as they are stored in the drawer. This option depends on personal choice and the value of your flatware. For very sharp knives, it is worth individually wrapping them into a large Tupperware container or wrapping a kitchen towel around them and securing it with rubber bands for safety.
To pack kitchen items for moving, roll each knife in a full sheet of packing paper and then wrap a dish towel around them. Then, secure the whole thing with a rubber band. Pack knives on their side—never facing up. For the easiest way to pack flatware, simply use packing to wrap around the tray and then place it flat inside a box. Explore top kitchen storage & organisation in our Amazon storefront.

Using Kitchen Boxes Effectively
When you pack a kitchen, you want to take some packing paper and scrunch it up and place it above the packed kitchen items. This acts as a cushion to protect your fragile items while they’re stacked and unstacked during your move. Always use packing and a separate medium box for pots and pans, other containers, and larger kitchen utensils.
Wrap each pot and pan and lid separately and use packing the nesting method where possible to stack smaller pots and pans within larger pots and pans. Place buffering support around your pots and pans using rolled-up tea towels or stuffing packing paper between the gaps. To pack a kitchen items for moving, use a small box for pantry items and canned goods. Explore best kitchen storage & organisation in our Amazon storefront.
Food items containing liquid should be wrapped into plastic bags to help prevent leaks. Stuff some packing paper between glass jars of condiments or spices. You should always remember to pace yourself when packing up your kitchen. Use a large box or medium box, and stack pots and pans with the smaller ones nestled into the larger ones and a sheet of packing paper between them.
Labeling Kitchen Moving Boxes
When you pack a kitchen, you should have your marker handy to label your moving boxes and your inventory list to number your kitchen boxes. The more detailed your inventory list is for each box, the easier it will be to find it quickly amongst the many boxes once you reach your destination. It is extremely important to label things clearly. Explore more kitchen storage & organisation ideas in our Amazon storefront.
Always use packing markers to label your kitchen boxes with their contents; ‘fragile,’ ‘pots and pans,’ ‘pantry,’ etc. This should help avoid damage to fragile items. If you are using a moving company, they will appreciate you clearly labeling the contents. The right packing supplies can make all the difference.
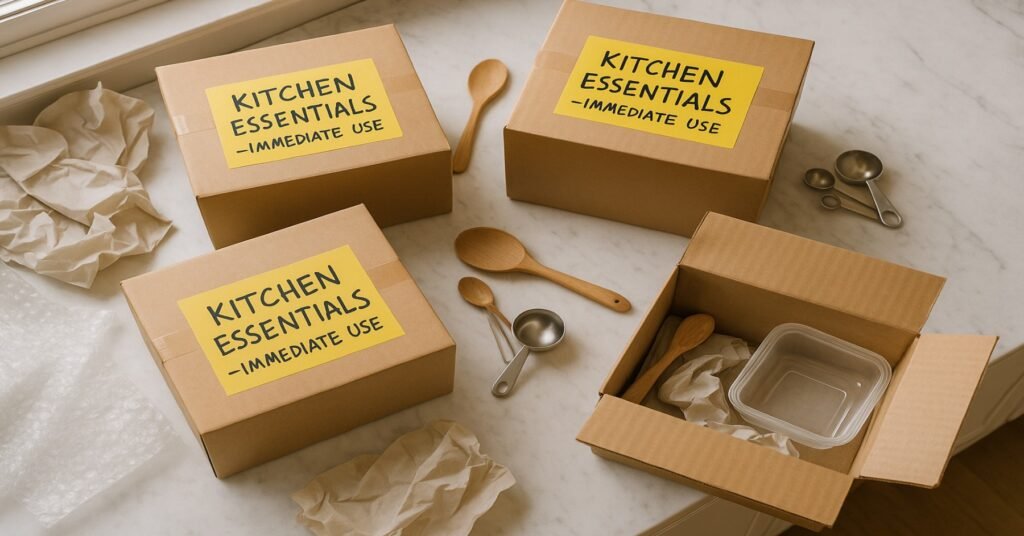
If you have certain kitchen utensils or appliances that you will need immediately, make sure you clearly label them. This can include food storage containers. Knowing how to pack kitchen items properly is essential for a stress-free move. It is recommended to keep the pantry and dry food items for easy access.
Organizing the Pantry for Storage
Your pantry is another great stop on the culling tour of packing your kitchen. Use a small box for pantry items and canned goods. The pantry should’ve been sorted by now, with only those food items you want to move separated out. Start with the spices, then work your way to the larger pantry items.
Canned goods aren’t worth moving unless you’re performing the move yourself. Tape up any opened food items packages and get rid of all perishable food, including freezer food items, unless your new home is quite close. Avoid buying perishable food about a week or two prior to moving day while simultaneously using up those that you already have.
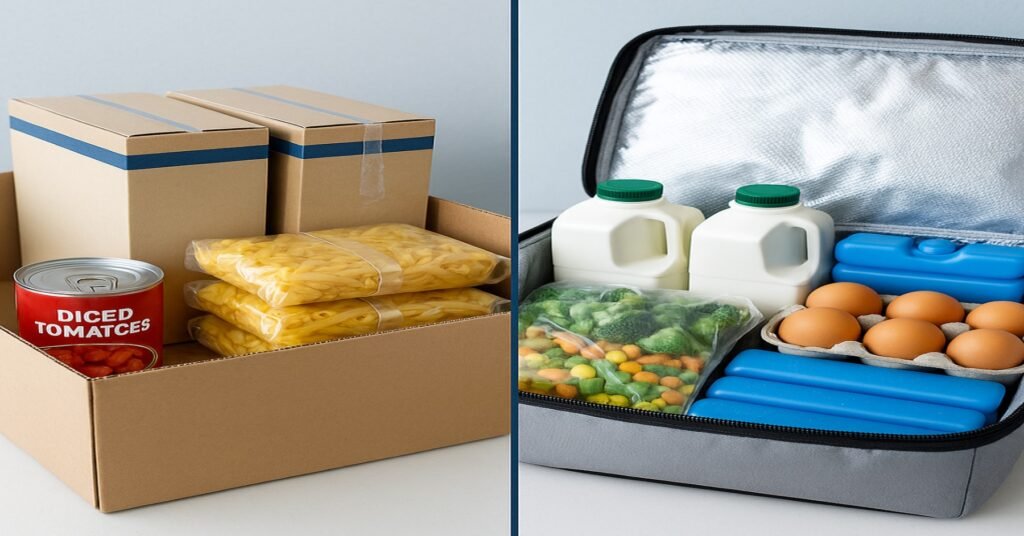
In general, your boxed, bagged, and canned goods should be packed in a way that prevents spills. For instance, seal previously opened containers with packing tape or place them in a sealed bag. When packing canned goods, pack kitchen items for moving them in a single layer at the bottom of a small box and place lighter food items on top. Knowing how to pack a kitchen for storage ensures a smooth transition.
Storing Non-Perishable Food Safely
When you pack a kitchen, remember that health and safety should always come first. Your moving company likely won’t move perishable food. Items like milk, eggs, and frozen goods need to be transported separately in a cooler. Any food items you want to keep accessible should be transported in your own car or mode of transport, packed in an insulated bag.
Long-term Storage Solutions for Kitchenware
Everything else, from cookbooks to baking trays, can be packed normally when you pack a kitchen. Follow the principles of placing heavier kitchen items at the base of your kitchen boxes and lighter kitchen utensils toward the top. Group similar kitchen utensils together for easier unpacking. Be careful not to make any one kitchen box too heavy. Explore kitchen storage & organisation Hacks in our Amazon storefront.
Maximizing Space in Storage Units
When you pack kitchen items, remember to maximize space in your storage unit by disassembling what you can. Stack kitchen boxes efficiently. Heavier kitchen boxes should be at the bottom and lighter ones on top. Use packing materials to fill empty spaces and prevent shifting during transport. Clearly label all sides of the kitchen boxes for easy identification.
Final Checks Before Moving Day
Before moving day, double-check that all kitchen appliances are clean and dry. Use packing tape to secure any detachable parts. Ensure all food items are properly sealed. Large boxes are best for heavy kitchen items at the bottom and lighter items on top. Medium boxes are suited for appliances. Small boxes are perfect for canned goods and pantry items.
How to Keep the Kitchen Organized During a Move
To maintain kitchen organization during a move, keep a detailed inventory of each kitchen box. This makes unpacking a breeze when you reach your new home. Designate a specific area for staging kitchen boxes, keeping walkways clear and avoiding clutter. Designating areas for different kitchen utensils will also help stay organized.
Recap of Key Packing Strategies
As you complete the process to pack a kitchen, remember the essential steps for a successful move. Starting with decluttering, sorting items, and using appropriate packing supplies like packing paper, bubble wrap, and sturdy kitchen boxes is very important. Always protect fragile items by wrapping them individually before placing them in kitchen boxes, then cleaning the kitchen to remove marks from surfaces. Explore more kitchen storage & organisation essentials in our Amazon storefront.
Encouragement for a Stress-Free Move
Moving can feel overwhelming, but you can handle it! With careful planning and attention to detail when you pack a kitchen, you can minimize stress and protect your belongings. Focus on one step at a time, use packing efficiently, and take breaks when needed. By following these tips, the process to pack your kitchen can be managed with ease.
Our Related posts:
How to Use Kitchen Storage | Maximize Efficiency & Keep Your Kitchen Organized
The 8 Best Kitchen Storage Containers for Food Storage in 2025
Yes, but only if they are non-perishable and properly sealed when you pack a kitchen. Avoid packing perishable food items like milk, eggs, and fresh produce, as they can spoil during transport. Food items like canned goods, sealed snacks, and dry goods can be safely packed for long-term storage, if unopened. Wine bottles should also only be packed if unopened.
Protecting fragile items when you pack a kitchen requires extra care and the right packing supplies. Wrap each item individually in bubble wrap or packing paper, and use packing peanuts or cushion foam to fill empty spaces in the kitchen boxes. Consider using specialist kitchen boxes with dividers for delicate utensils like stemware to prevent breakage and ensure the best protection.
Labeling is crucial for a smooth unpacking experience when you pack a kitchen. Clearly mark each kitchen box with its contents and the destination room, such as “Kitchen – Pots and Pans” or “Dining Room – Glassware”. Indicate if the kitchen box contains fragile items by writing “FRAGILE” in bold letters on all sides. This ensures careful handling and helps you quickly locate specific items upon arrival, you get our drift.