
Creating a kitchen storage cabinet can be an incredibly rewarding DIY project that not only enhances your carpentry skills but also adds significant storage space to your kitchen. Whether you are building a pantry cabinet or incorporating it into a walk-in pantry, understanding the various aspects of kitchen cabinet projects is essential for a successful build.
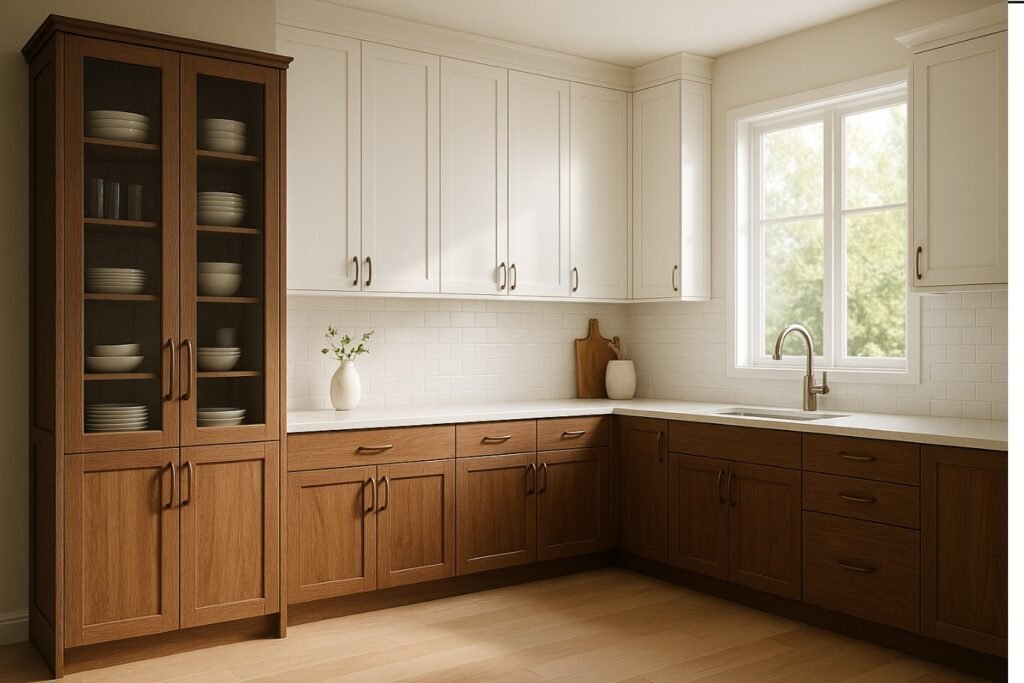
Kitchen cabinets come in various types and styles to fit different needs and aesthetics. A large pantry cabinet can serve as a standalone unit, providing extra storage for food and snacks. Alternatively, it can be integrated with existing cabinetry in a walk-in pantry or closet, enhancing the overall storage capacity and organization of your kitchen space.
The main cabinet structure is composed of several essential components: two side panels, a top and bottom panel, and a middle panel, along with three thinner strips. These parts form the framework of the cabinet, with the front edges of the top and middle panels being visible in the finished product. The plywood strips are strategically placed above and below the panels to create structural integrity and functional features like the toe kick.
Engaging in a DIY kitchen pantry cupboard project offers numerous benefits. It involves constructing and installing drawers, doors, and shelves, making it an excellent opportunity to practice various woodworking skills. Classified as an intermediate-level build, it provides a practical challenge that enhances your craftsmanship while creating a customized storage solution tailored to your needs.
Accurate measurements are crucial when planning your DIY pantry cabinet. The typical dimensions for a kitchen pantry cupboard are approximately 23 ¾″ deep, including the door, 42″ wide, and 84″ tall. Determining the exact size needed for your space is vital to ensure a perfect fit, so measuring twice is always a prudent step in the process.
Selecting appropriate materials is essential for the durability and aesthetics of your cabinet. Cabinet-grade plywood is recommended, with birch, maple, and oak being excellent choices. Additionally, 1x materials can be sourced from any wood type. Pre-primed pine is suitable for painted sections like the face frame and door, while spruce is ideal for unpainted parts.
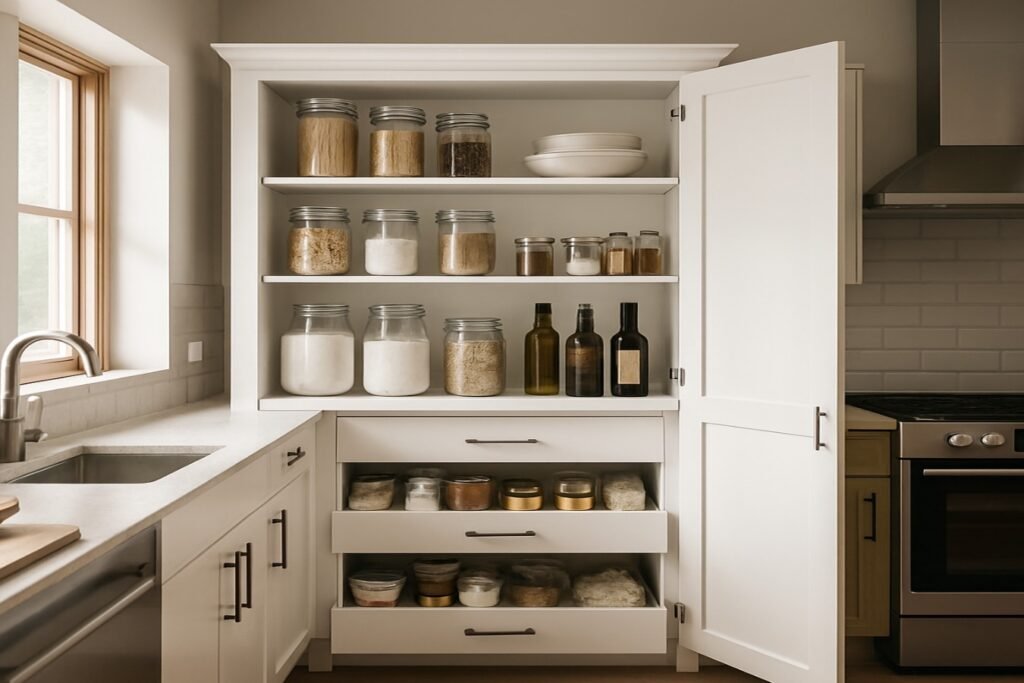
The design layout of your pantry cabinet should reflect your storage needs. Typically, the top section is designated for shelving, providing ample space for organizing items. The bottom section can accommodate drawers, perfect for storing canned goods, bulk items, and boxed goods efficiently. This thoughtful design maximizes the utility of your kitchen storage cabinet.
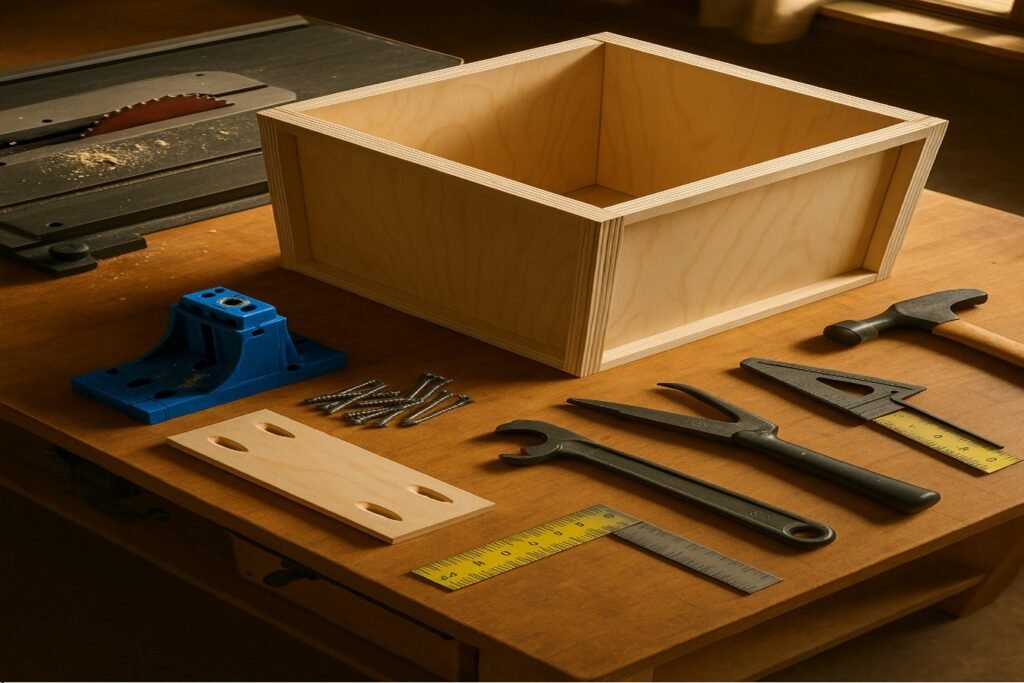
The creation of the cabinet box is a fundamental step in any DIY pantry cabinet build. Using a table saw, ¾″ plywood sheets are precisely cut down to form the main cabinet body. This structure is assembled by strategically using pocket holes and screws, ensuring a robust frame. Pocket holes are drilled into the ends of the top, middle, and bottom panels, along with each end of the three strips. These strips are not mere decorative elements but serve critical functions; the top strip provides a surface to nail the face frame, the middle strip ensures secure attachment to wall studs, and the bottom strip forms the essential toe kick, adding both functionality and a polished look to the overall build.
Assembling the cabinet base requires precision and attention to detail. The bottom panel is reinforced by adding pocket holes to the 1×8 and 1×12, ensuring a stable foundation. To enhance the structural integrity, 2x2s are glued and secured using 1.25″ pocket hole screws on either side of the panel. These components connect seamlessly to the side panels through single pocket holes. The use of 2.25″ pocket screws further fortifies the assembly, while clamping ensures everything is perfectly square. This meticulous process ensures that the cabinet base is both functional and durable, ready to support the weight of the pantry’s contents.
Cabinet doors are integral to the aesthetic and functionality of your kitchen cabinet. Constructed from 1x3s for the frames and ¼″ plywood for the panels, the doors are a testament to craftsmanship. The construction involves cutting “tongues” on each end of the rails, which are ¼″ wide and ⅜″ long. Dadoes, ¼″ wide, are created down the center of each frame piece, allowing the tongues and plywood panels to fit snugly. Using wood glue, two identical doors are assembled, ensuring a cohesive appearance. Installing three hinges on each door with a concealed hinge jig ensures smooth operation and a sleek finish.
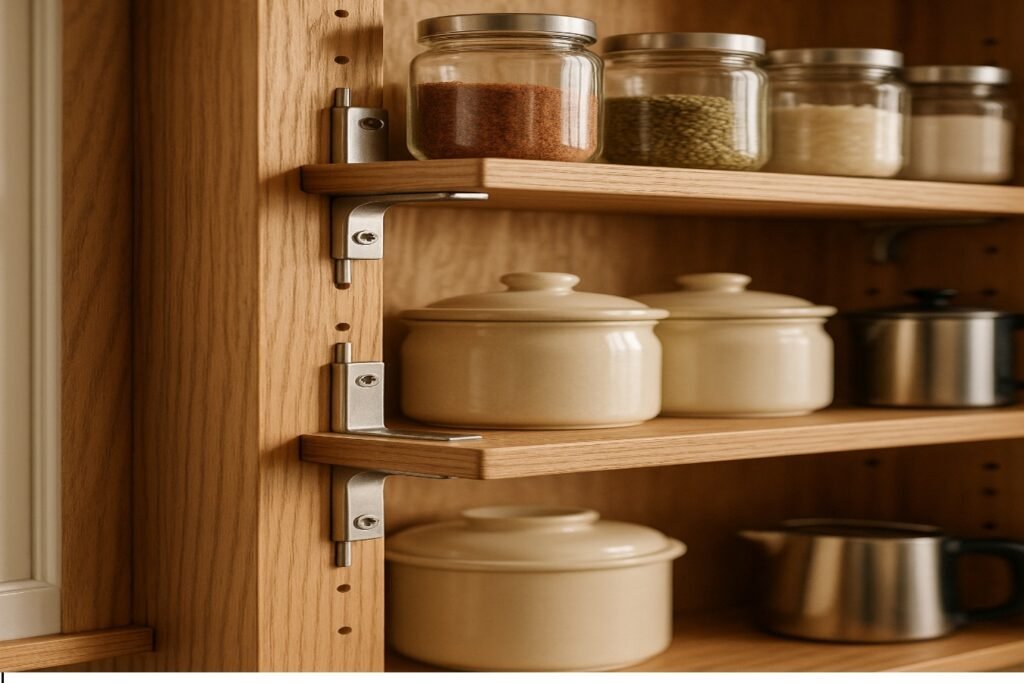
Shelf supports play a crucial role in the versatility of your storage cabinet. Adjustable shelves can be effortlessly added using shelf pins, offering adaptability and customization in organizing storage space. This flexibility allows you to modify the shelving layout to accommodate various items, from large pantry essentials to smaller kitchen gadgets, enhancing the overall utility of your kitchen pantry.
Constructing storage drawers requires careful consideration of materials and measurements. The drawers are crafted using ¾″ plywood for the sides and ½″ plywood for the bottom, ensuring durability and strength. Three shallow drawer boxes are meticulously assembled, each complemented by a drawer front cut from ¾″ plywood. These fronts are attached from the inside with screws, providing a seamless and polished appearance. This thoughtful design not only adds extra storage to your kitchen but also enhances the cabinet’s functionality and aesthetic appeal.
Floating shelves offer a modern and practical solution for additional storage. In the top section of the pantry, a back panel cut from ½″ plywood is installed to complete the opening. Pocket holes are drilled along all edges, allowing for secure installation. A full-length shelf is precisely cut and positioned across the top section, with a divider panel added above for further organization. Shelf pin holes are drilled to accommodate small adjustable shelves, adding flexibility and maximizing the storage potential of your cabinet. This incorporation of floating shelves results in an efficient use of space while maintaining a sleek, contemporary design.Lorem ipsum dolor sit amet, consectetur adipiscing elit. Ut elit tellus, luctus nec ullamcorper mattis, pulvinar dapibus leo.
Incorporating a spice storage drawer into your kitchen cabinet design can significantly enhance its functionality, providing a practical solution for organizing smaller items. This drawer can be built using scrap wood, offering a cost-effective means to optimize storage space. The design typically features a shallow drawer box crafted from plywood, allowing for neat arrangement of spice jars. Drawer slides are installed to ensure smooth operation, while a custom drawer front can be added to match the overall aesthetic of your cabinet, creating a cohesive look in your kitchen pantry.
Applying the face frame is a crucial step in completing your kitchen cabinet, adding both structural integrity and aesthetic appeal. A simple face frame is assembled using 1x2s for the sides and bottom, and a 1×4 at the top. Generous amounts of wood glue are applied to the front of the cabinet, ensuring a strong bond. The frame is then nailed in place, with the 1×4 at the top providing additional material for nailing crown molding once the cabinet is installed. This technique results in a polished, professional finish.
Painting or staining your cabinet is the final step in enhancing its appearance and durability. Begin by inspecting for imperfections, nicks, dents, or holes, and patch them using wood filler and a putty knife. Once the wood filler is dry, sand the surfaces with an orbital sander to achieve smoothness. Wipe away sawdust with a damp cloth before applying paint or stain. If you prefer the natural wood color, consider adding a coat of polyurethane. For a modern look, the cabinet doors and exterior can be painted with SW Colonnade Gray, while the inside of the cabinet is sealed with Minwax Polycrylic.
Once your kitchen cabinet is complete, organizing your kitchen pantry becomes the next focus. Strategically arrange items to maximize the available storage space. Use shelves to categorize pantry staples, placing frequently used items at eye level for easy access. Utilize drawers for storing canned goods or bulk items, and incorporate adjustable shelf supports to accommodate varying heights of products. This organization not only improves efficiency but also enhances the aesthetic appeal of your kitchen, transforming your pantry cabinet into a functional and visually pleasing element of your home.
When choosing the best single-serve coffee maker, consider factors such as:
Single-serve coffee makers can be cost-effective, but the cost can add up depending on the pods or capsules you use. Some premium brands offer reusable pods, which can help reduce long-term costs. If you use ground coffee, check for models that accommodate that as an option to avoid the recurring cost of buying pods. Additionally, energy-efficient models may help keep your electricity bills lower.
Yes, many high-rated single-serve coffee makers have multifunctionality. Some can brew tea, hot chocolate, or even specialty drinks like lattes and cappuccinos if they have an integrated milk frother. Always check the product details to see if the machine offers versatility beyond just regular coffee brewing.