
Our editorial team individually chooses every product that is suggested on neatcupkit. We might get paid if you buy something after clicking on any of these links.
Dreaming of a cozy, functional kitchen upgrade? This step-by-step guide will show you exactly how to build a kitchen nook bench seating with storage. A DIY breakfast nook is the perfect solution to maximize space and add charm to your home. Let’s get started and transform your kitchen into a haven.
What is a kitchen nook bench seating with storage?
A kitchen nook bench seating with storage is a built-in or freestanding seating arrangement designed to optimize space and provide a comfortable dining area. These benches offer different features, some of which are described in the table below:
| Feature | Description |
| Location | Often placed in a corner or bay window |
| Storage | Typically a hinged or lift-up seat reveals a hidden compartment |
Benefits of a breakfast nook bench seating
The reason why many love a breakfast nook bench is that it is the perfect way to add more seating in a small area. With a breakfast nook bench seating, it looks and feels cozy plus intentional. A breakfast nook bench is also a cozy place to hang out. A nook bench enhances the space, creating an inviting spot for meals and conversation, while the concealed storage space helps keep your kitchen organized and clutter-free.
Also see the related post:
How to Build a Kitchen Bench Seating with Storage
Overview of the project
Building a breakfast nook bench seating can be achieved even with beginner woodworking skills. You’ll construct a frame, clad it with plywood, add decorative trim around the edges, and create a hinged seat for storage. Remember that drawing up a plan and cutting the measurements correctly is important! Our step-by-step tutorial will guide you through each stage, ensuring a rewarding and functional addition to your home.
Maximizing small spaces with a nook bench seating
A nook bench seating is especially valuable in smaller kitchens where every square inch counts. By utilizing a corner or otherwise underutilized area, a built-in breakfast nook maximizes storage space and provides comfortable seating without taking up valuable floor space. It turns a simple corner bench into a functional and stylish feature.

Creating a cozy, inviting dining spot
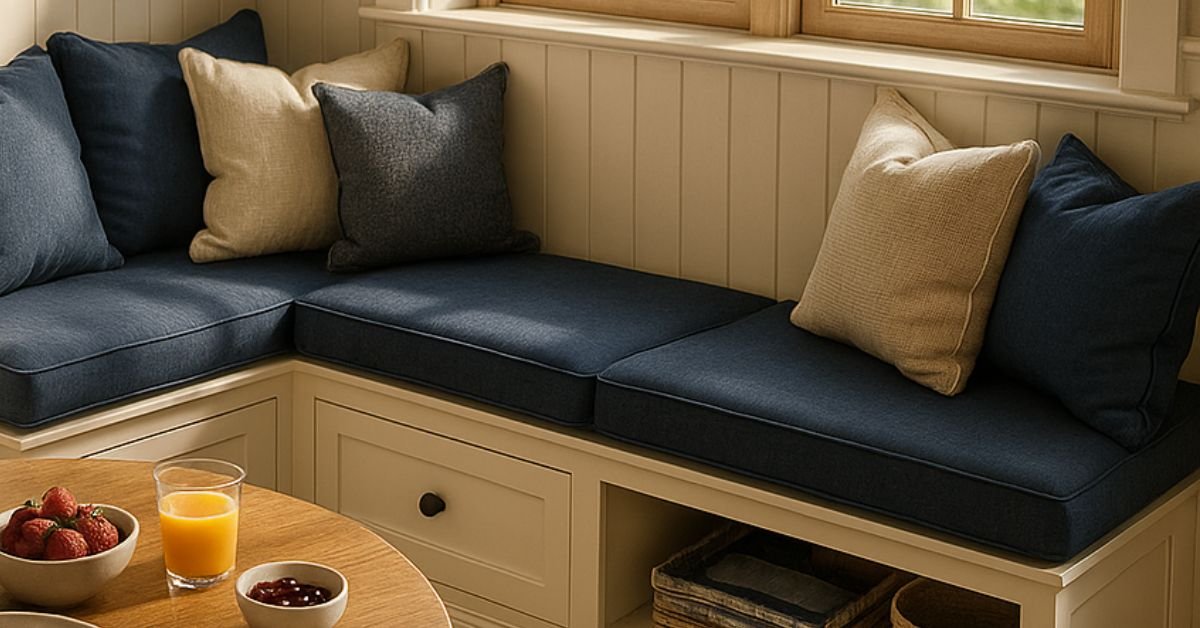
A breakfast nook bench creates a warm and inviting atmosphere, perfect for enjoying casual meals with family and friends. Big cushions make it another piece of furniture you can lounge on. Paired with a round kitchen table, a nook bench seating softens the space and makes it feel more unique. Adding personal touches like decorative pillows enhances the cozy ambiance and makes the space truly your own.
Bonus storage solutions for your kitchen
One of the best reasons to build a breakfast nook bench seating is the added storage space. Any small house can use more storage! The concealed storage space beneath the seat is ideal for storing linens, dishes, or even pantry items, keeping your kitchen organized and clutter-free. The bench with storage transforms an ordinary dining area into a highly functional space.
Planning your nook bench seating project
To begin building a breakfast nook bench seating, figure out the aesthetic you desire by searching for inspiration on platforms like Pinterest or Instagram. This helps you envision the final space. Next, decide what materials you will use. Then begin measuring your space to get a rough idea of the size nook bench seating that your space can accommodate.
Consider how many people you want to seat and the size of the table you’ll use with the nook bench seating. You must also consider whether or not you will be using the nook for storage. If so, plan for the types of items you’ll store to ensure ample storage space. Refer back to the type and dimensions of the table you’ll be using as well.
Gathering tools and materials
To get started with your new diy project, you’ll need a variety of tools and materials. Specifically, you will need tools such as:
Don’t forget the paintable caulk, wood filler, cedar skinny lap, trim around, plywood, and paint for the finishing touches. For framing a 12’x6’ bench, you’ll also need twelve 2x4s.
You’ll need several materials for this project, including:
For the top of the bench, you need a piece of sanded plywood. For the sides you’ll need four to five boards of shiplap and an L Chanel trim piece.
Constructing the bench frame
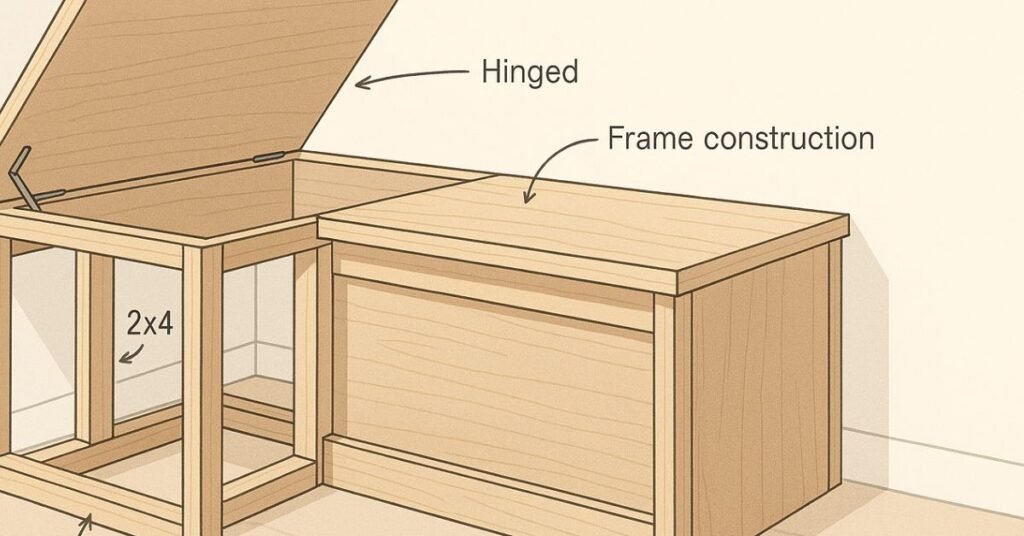
When making the bench frame, ensure the material for the seat is strong enough to support several people. Therefore, using 3/4” plywood is ideal. The same consideration applies to the frame; use 2x4s to provide adequate structural support. The dimensions of any seat cushion you plan to use must also be factored in when determining the seat height of your nook bench seating.
Consider the thickness of your materials when building a breakfast nook bench seating. We decided to build the frame as separate boxes using 2x4s. Use a Ridgid framing nailer with 2-1/2 inch nails to assemble the frames. You can then attach the frames to the studs on each wall to stabilize the frame.
Installing the storage compartment
Measure the front and sides of the frame to determine the necessary cuts from the 1/2-inch plywood to cover the frame. Attach the plywood to the frame using a Ridgid brad nailer with 3/4 inch brad nails. If you don’t have a brad nailer, you can use finish nails and a hammer. After covering the bottom of the frame with plywood, add the decorative trim around the outside edges.
Next, move on to trim around the seat back. You can then add the cedar paneling inside of the trim on both the top and bottom of the nook bench seating to give it a more finished look. Now it’s time to prepare for the seat! Cut the seat into two pieces in order to make accessing the storage space easier.
Finishing touches: paint and upholstery
After allowing the wood filler to dry overnight, use a high-grit sanding block to smooth out the excess wood filler. This helps you obtain a smooth finish in preparation for painting. Before painting, use paintable caulk to fill any additional spaces or gaps that the wood filler couldn’t cover. Before you paint, clean the space and remove all dust using a cloth.
Tape off around the edges of the nook with painter’s tape to prepare for your primer and paint. Apply a good coat of exterior primer to ensure the paint adheres well. Once the primer is dry, lightly sand the primed surface with the sanding block. Before applying your first coat of actual paint, make sure to clean the space again by vacuuming and wiping the surface with a microfiber cloth.
Built-in vs. freestanding nook benches
When building a breakfast nook, one of the first design choices is whether to make it a built-in project or freestanding. A built-in breakfast nook offers a permanent, seamless look, often anchored to the wall or even the floor. Depending on your flooring, you could attach 2x4s to the floor, and then attach the nook framing to the 2x4s, making it a sturdy, integrated part of the kitchen.
Adding cushions for comfort
No nook bench seating is complete without comfortable cushions. These provide the much-needed cushion for long meals or relaxed conversations. When selecting cushions, consider factors like size, thickness, and fabric. Thicker cushions will increase the seat height of your bench, so be mindful of how this impacts your comfort at the table.
Personalizing your bench with accents
To add some flair to your bench seat, personalize it with various accents that reflect your style. For example, decorative pillows can add a pop of color and texture. Think about incorporating drawers, shelving, or side of the bench for extra storage space. You can create custom bookcases and a comfortable dining area.
Ensuring structural support for heavy use
When building a breakfast nook, structural support is paramount for safety and longevity. Be sure to use high-quality 2x4s or similar lumber for the frame, ensuring they are securely fastened together and to the wall studs. The baseboard and floor should also be considered when anchoring your bench seat. Remember, a sturdy frame means a safe and durable breakfast nook bench seating.
Choosing kitchen-friendly surfaces
Selecting appropriate surfaces is important when building a breakfast nook because the kitchen environment can be tough on materials. We selected semi-gloss trim paint because it’s easy to clean. Be sure to use semi-gloss or polyurethane to finish your piece if you don’t choose white trim paint. This will protect the plywood from moisture and spills, ensuring the bench remains in good condition over time.
Upholstery maintenance tips
Maintaining the cushions and seat of your nook bench is essential for preserving its appearance and comfort. Regularly vacuum cushions to remove crumbs and dirt, and spot-clean spills immediately with a damp cloth. Consider using stain-resistant fabrics or applying a fabric protector to minimize stains and prolong the life of your bench seat. You can also add pillows for comfort.
Recap of the benefits
To recap, building a breakfast nook offers numerous benefits, including maximizing space, adding a cozy and inviting dining area, and providing valuable storage space. A nook bench seating can transform an unused corner into a functional and stylish focal point in your kitchen. The addition of cushions and decorative pillows can further enhance the space.
Encouragement to get started
Now that you’ve learned how to build a kitchen nook bench seating with storage, it’s time to start your own project. Don’t be afraid to experiment with designs and finishes to create a diy breakfast nook that perfectly complements your kitchen. Embrace the challenge, and enjoy the satisfaction of building a breakfast nook with your own two hands.
Links to related kitchen storage ideas
If you’re seeking more kitchen storage solutions, explore options like pull-out shelves, vertical shelving, and wall-mounted organizers. These ideas can help you optimize every inch of your kitchen and keep it clutter-free. Combining these solutions with your new bench with storage will create a highly functional and organized kitchen space.
When building a breakfast nook bench seating, consider materials like plywood for the frame and seat, as it’s strong and cost-effective. For the finish, choose kitchen-friendly options like semi-gloss paint or polyurethane for easy cleaning. Also, add pillows to the seat. Upholstery fabrics should be durable, stain-resistant, and easy to maintain.
Absolutely! A corner bench is an excellent solution for small kitchens, because they can maximize space by utilizing bay window or underutilized corners. By opting for a bench with storage, you can also gain valuable space to hide items. So get started on your diy breakfast nook today!
The cost of building a breakfast nook bench can vary depending on the materials you choose and the size of the project. For our project, we believe it was around $200, tools not included. Keep in mind that the cushions can also add to the cost. However, building it yourself will be cheaper than buying a pre-made unit.
While some woodworking experience is helpful, building a breakfast nook doesn’t require advanced skills. The step-by-step instructions provided here will guide you through the process, even if you’re a beginner. Be patient, take your time, and don’t be afraid to learn as you go. The use of power tools like a circular saw or miter saw will come in handy.
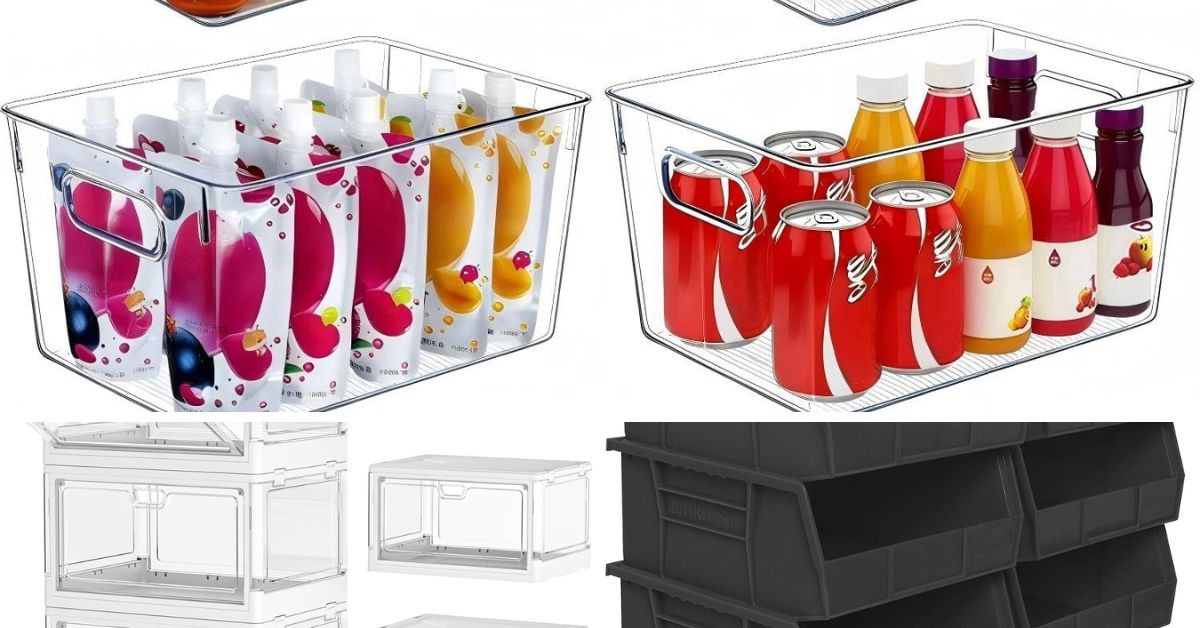
To keep the storage space beneath your bench seat clean and organized, consider using baskets and bins, or you could also add another shelf in between the middle and the top. Regularly vacuum or wipe down the interior to prevent dust and crumbs from accumulating. Proper ventilation can also help prevent mold and mildew growth, ensuring a clean and healthy storage space. You can add paneling to the inside.