

Our editorial team individually chooses every product that is suggested on neatcupkit. We might get paid if you buy something after clicking on any of these links.
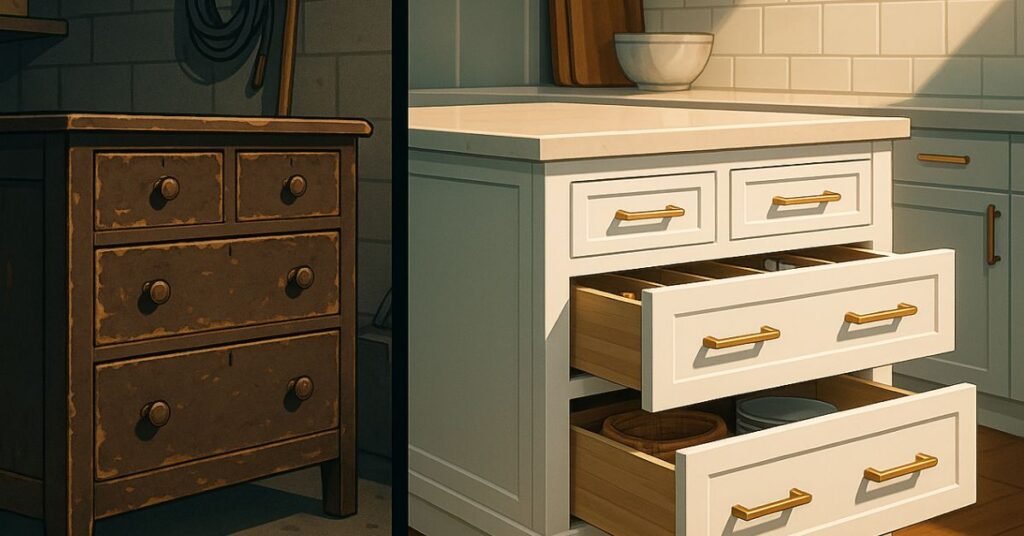
Transform your kitchen with a touch of creativity by learning how to turn a dresser into kitchen storage. This easy DIY project not only offers a unique storage solution but also breathes new life into old furniture. Embrace the charm of upcycled furniture and create a functional and stylish space.
Understanding the Concept of Repurposing
Upcycling furniture is about giving an old dresser or furniture a new purpose, such as transforming it into kitchen storage. This easy DIY project allows you to reimagine furniture and create something functional and beautiful. It’s a creative way to add character and storage to your kitchen.
Benefits of Budget-Friendly DIY Projects
Opting for DIY kitchen projects like this dresser makeover can save you money. I was able to create a unique kitchen storage solution for under $60 by using a thrifted dresser. It’s an affordable way to get organized and store essentials, rather than buying pricey new kitchen cabinets.
Eco-Conscious Choices in Home Decor
By upcycling a broken dresser into kitchen storage, you’re making an eco-conscious choice. We decided to pull a vintage dresser from the garage and give it new life. Repurposing furniture reduces waste and promotes sustainable living. This helps in kitchen organization and adds a unique piece of furniture to your home.
Cost-Effective Solutions for Kitchen Organization
Using an old dresser as a kitchen island is a cost-effective alternative to purchasing new kitchen furniture. My sister wanted to make a kitchen island out of an old dresser and asked for my help. Dressers are often more affordable than new kitchen cabinets or kitchen island units. It’s a budget-friendly way to get extra kitchen storage.
Adding Character with Unique Furniture Pieces
A dresser turned into kitchen storage adds a unique touch to your space. We had quite a few vintage pieces picked up from yard sales and various flea markets. An upcycled dresser brings character that store-bought kitchen furniture often lacks. This dresser island can become a focal point in your kitchen.
Customizing Storage to Fit Your Needs
One of the best things about upcycled furniture is the ability to customize it. She wanted an open shelf to store appliances, specifically her air fryer. You can modify the drawer sizes, add shelves, or even incorporate a top to suit your specific kitchen needs. This flexibility ensures your kitchen storage perfectly fits your lifestyle.
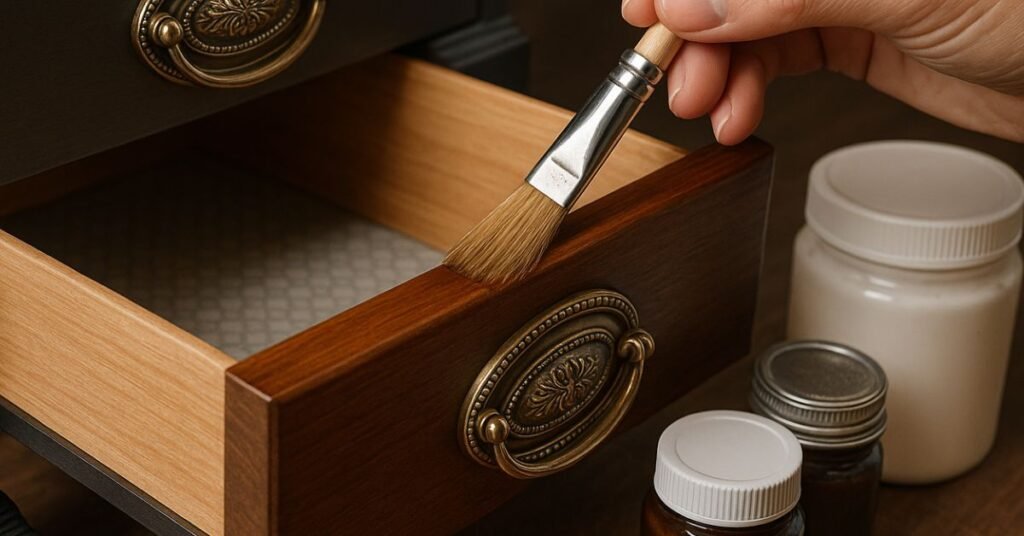
Cleaning and Sanding the Dresser
Before starting your DIY kitchen project, thoroughly clean the old dresser. Remove any dust or grime that may have accumulated. We took several steps to prepare the surface, including:
This ensures the paint adheres properly, resulting in a professional-looking dresser makeover for your kitchen.
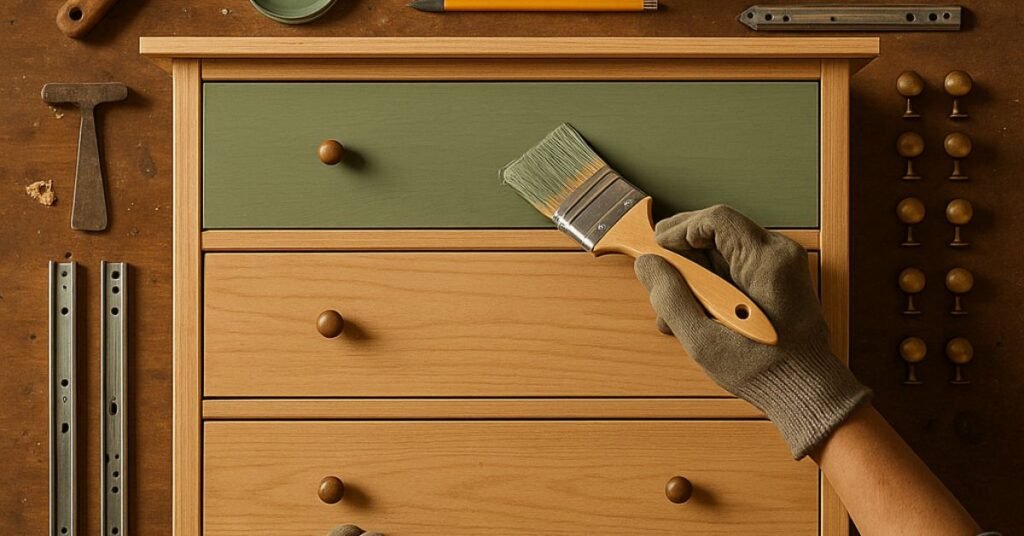
Painting or Refinishing for a Kitchen Ready Look
Transform the dresser to match your kitchen decor by applying paint or finish. Choose a color that complements your existing kitchen cabinets or opt for a contrasting shade for a pop of color. My sister chose Behr Dragonfly and I love it! A fresh coat of paint can completely revitalize the upcycled dresser and make it look brand new as a kitchen island.
Reinforcing Drawers and Shelves for Durability
To ensure your dresser can handle the weight of kitchen storage items, you’ll need to reinforce certain areas. This may involve:
Detaching drawer fronts and installing smaller boxes with drawer glides can also be part of the process. This step is crucial for the longevity and functionality of your upcycled kitchen storage.
Using Liners and Dividers for Organization
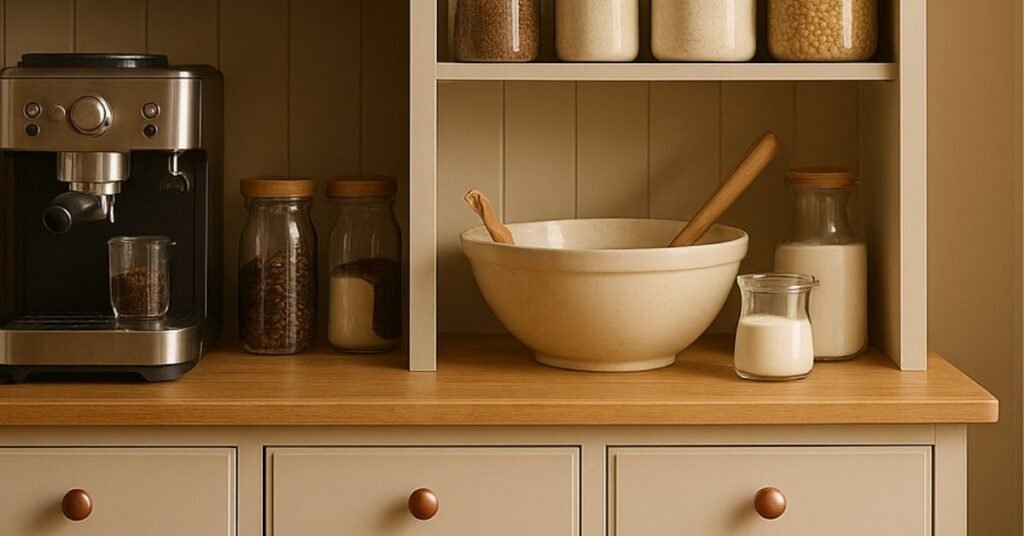
Maximize kitchen organization by adding liners and dividers to the drawers and shelves. I’m filling it with my most used baking & craft items. There are several benefits to doing this, including:
This enhances the functionality of your dresser as kitchen storage.
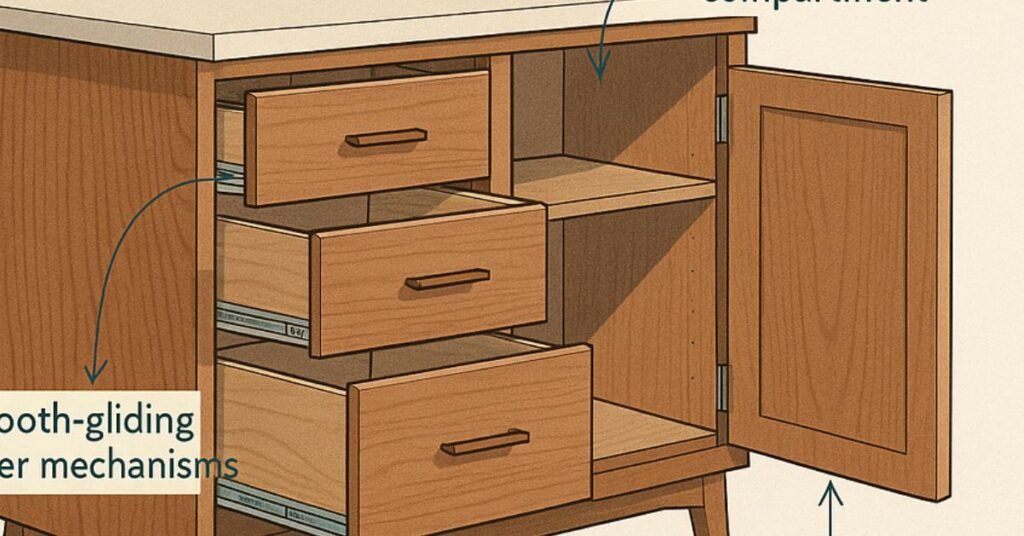
Modifying Drawers into Pull-Out Shelves
Convert drawers into pull-out shelves for easier access to kitchen items. That meant cutting out drawer support and adding sides and a bottom. Remove the drawer fronts and install sliding mechanisms to create convenient pull-out shelves. This modification is particularly useful for storing pots, pans, or other bulky kitchen storage items in your dresser turned kitchen island.
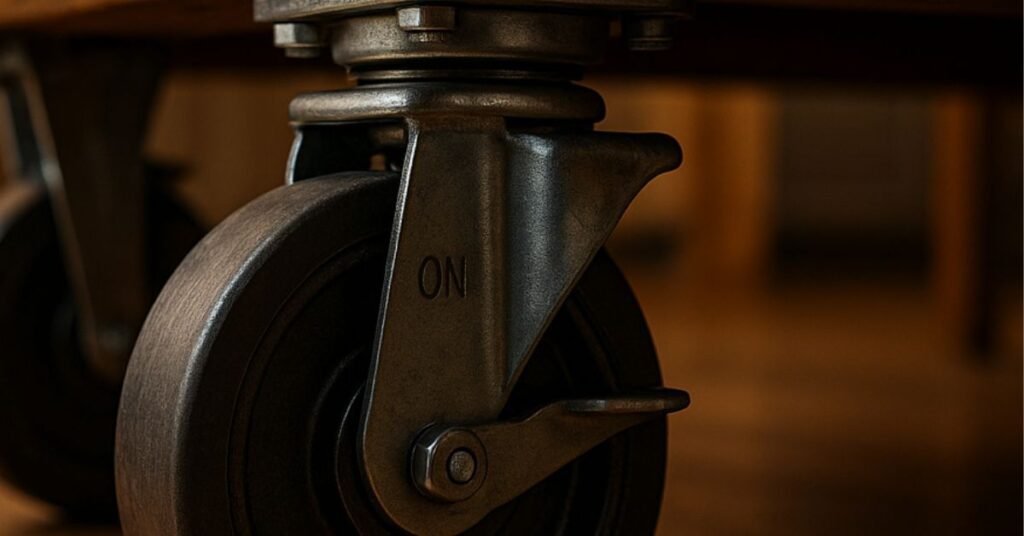
Optional Features: Wheels and Butcher Block Tops
Enhance the mobility and functionality of your dresser by adding wheels or a butcher block top. She also wanted to be able to store it away after use, so wheels were going to be added. Attaching wheels allows you to easily move the dresser around your kitchen, while a butcher block top provides additional counter space for food preparation. These optional features can elevate your dresser kitchen island to the next level.
Choosing the Right Paint and Finish
Selecting the right paint and finish is crucial for your dresser makeover. Consider using Behr chalk paint for a rustic look, finishing with a clear wax for added protection. Remember that depending on the type of board and furniture you repurpose, the paint might need a few coats. Sealing the top is essential, especially if it’s repurposed wood.
Moisture-Proofing Your Upcycled Furniture
Given that the dresser will be used in the kitchen, moisture-proofing is critical. Use a product like Americana Decor Soft-Touch Varnish for the top. This finish creates a protective barrier against spills and humidity. Protecting your upcycled furniture from moisture extends its life. This is especially important in a kitchen environment.
Selecting Hardware that Complements Your Kitchen Decor
The hardware you choose can significantly impact the overall look of your dresser turned kitchen storage. Attach new knobs from places like Hobby Lobby to complete the transformation. Select hardware that matches your kitchen style, whether it’s modern, farmhouse, or vintage. Matching your hardware ties the entire room together.
Safety Measures for Stability and Security
Safety is paramount when upcycling furniture, especially for a kitchen island. Ensure the back is framed out to provide sturdy support, especially if you plan to attach wheels. Choose wheels that can handle the weight and can be locked. Adding carpet padding between the dresser top and board can provide extra grip.
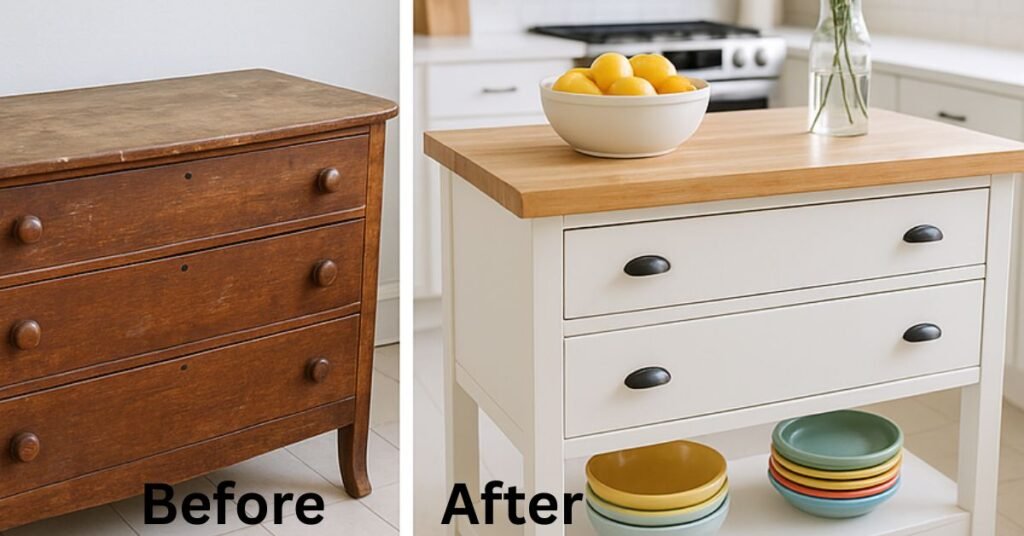
Recapping the Value of Dresser-to-Kitchen Conversions
Turning an old dresser into a kitchen island or kitchen storage offers immense value. It’s a budget-friendly DIY project that adds character and functionality to your kitchen. By upcycling furniture, you’re creating a unique piece that perfectly suits your storage needs. It’s also a great way to give a broken dresser new life.
Encouraging Readers to Try Their Own DIY Transformations
If you have furniture lying around, consider upcycling it into a functional piece for your kitchen. A dresser makeover can be a rewarding experience. With a little creativity and effort, you can transform an old dresser into a stunning and practical kitchen addition. Look to Pinterest for inspiration and get started on your DIY kitchen transformation.
The best type of dresser for kitchen storage has clean lines, solid wood construction, and is approximately counter height. It should also have a width that comfortably seats people if you plan to use it as a kitchen island. Make sure the drawers glide smoothly to prevent wood chips from falling inside and also be aware of the interior drawer space for optimal storage.
While some basic tools are required, you don’t need specialized equipment for a dresser makeover. A nickel hinge and drop leaf support may be needed for certain modifications. A cordless brad nailer and wood glue are helpful for assembling the support structures. Pocket holes, made with a Kreg Jig, can strengthen the attachment points on the board.
It is important to ensure that it’s safe to store food in a repurposed dresser. Line the drawers with food-safe liners to prevent direct contact between food and the wood. Avoid storing perishable items directly in the drawers without proper sealing. Regularly clean the drawers to maintain hygiene and prevent contamination. Consider using airtight containers.
Protecting the wood from kitchen moisture is crucial for the longevity of your upcycled furniture. Apply a waterproof sealant or varnish to all exposed surfaces. Pay special attention to the top and any areas prone to spills. Regularly wipe down the dresser to prevent moisture buildup. This helps maintain the integrity of the wood.
Yes, attaching wheels is a great way to transform your dresser into a movable kitchen island. The key is to attach a board to the front legs and back frame to create a secure spot for the wheels. Make sure the wheels can hold the weight of the dresser and its contents. Locking wheels are essential for safety and stability and add convenience and flexibility to your kitchen layout.