How to Organize a Spice Rack | 7 Easy Steps to Organize a Spice Rack for a Clean Kitchen

how to organize spice rack

Our editorial team individually chooses every product for kitchen storage that is suggested on neatcupkit. We might get paid if you buy something after clicking on any of these links.

To organize a spice rack, start by decluttering expired spices, then choose a storage system—drawer inserts, pull-out racks, wall-mounted shelves, or a Lazy Susan—and categorize your spices by alphabet, cuisine, or frequency of use. Uniform jars and clear labels make the system easy to maintain long-term.

You open the cabinet. Three bottles tumble out. You dig past the smoked paprika, the mystery powder with no label, and the cumin you definitely already own (twice), only to realize the cinnamon was hiding at the back the entire time.

Sound familiar? A disorganized spice rack is one of the most common kitchen frustrations—and one of the easiest to fix. Getting your spices under control saves you time, money, and the mental overhead of a chaotic kitchen.

This guide walks you through exactly how to organize a spice rack from scratch. You’ll learn which storage systems work best for different kitchen layouts, how to categorize your collection, and how to keep everything tidy long after the initial overhaul. Whether you’re working with a small cupboard or a full pantry wall, there’s a system here that fits your space.

Why an Organized Spice Rack Matters

Spices aren’t cheap. A well-stocked collection can easily represent hundreds of dollars of pantry investment—yet most people can’t find what they need when they need it. A proper spice rack organization system changes that.

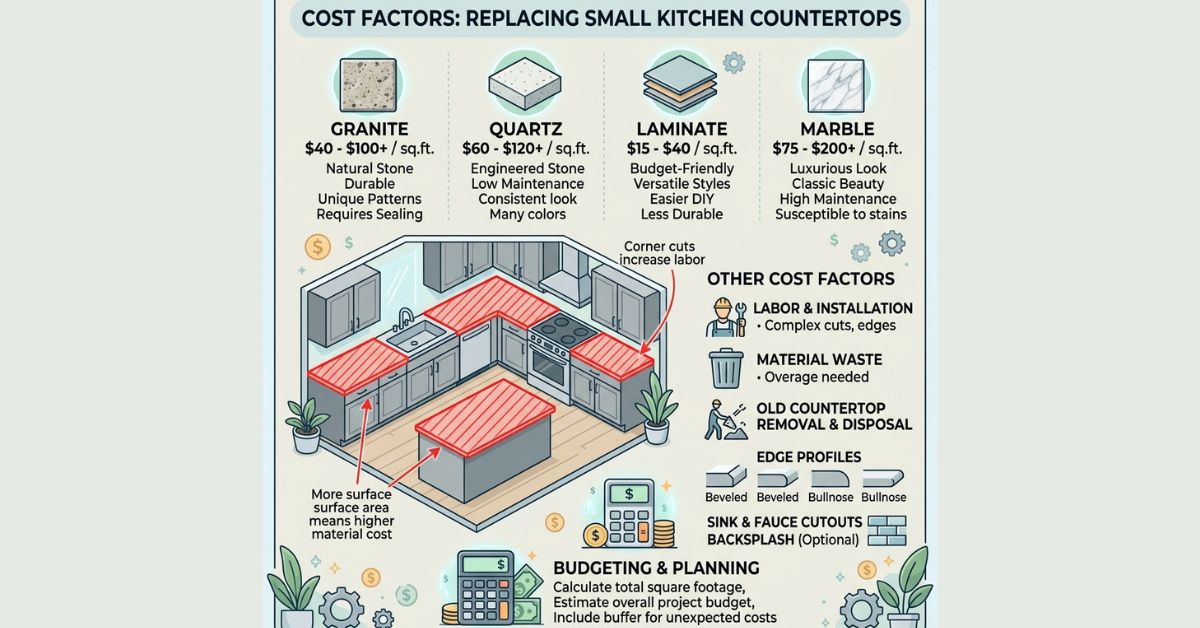
How Can I Lower the Cost of Replacing Small Kitchen Countertops?

Here’s what a clutter-free kitchen actually gives you:

  • Less waste. When spices are visible and organized, you stop buying duplicates and use bottles before they expire.
  • Faster cooking. Reaching for the right spice in seconds—rather than rummaging—makes weeknight cooking dramatically smoother.
  • Better flavor. Spices stored correctly retain their potency longer. Heat, light, and moisture are the enemies of flavor, so storage placement matters too.

A well-organized spice rack also makes your kitchen feel calmer. There’s a reason kitchen organization experts like NEAT Method put spice storage near the top of every pantry makeover—visual order directly reduces kitchen stress.

How to Organize Your Spice Rack (Step-by-Step Guide)

Step 1: Pull everything out and take stock

Empty your spice cabinet, drawer, or shelf completely. Lay every bottle and jar on the counter. This is the only way to see what you actually have.

Check every expiration date. Most ground spices last 2–3 years; whole spices can last up to 4. Herbs like dried basil or oregano typically last 1–3 years. If something smells like nothing when you open it, toss it—it won’t add anything to your food.

Step 2: Clean your storage space

While everything is out, wipe down shelves, drawer inserts, and cabinet walls. Spice residue and dust build up fast. A clean surface is the foundation of a system that stays tidy.

Step 3: Decant into uniform jars (optional but highly recommended)

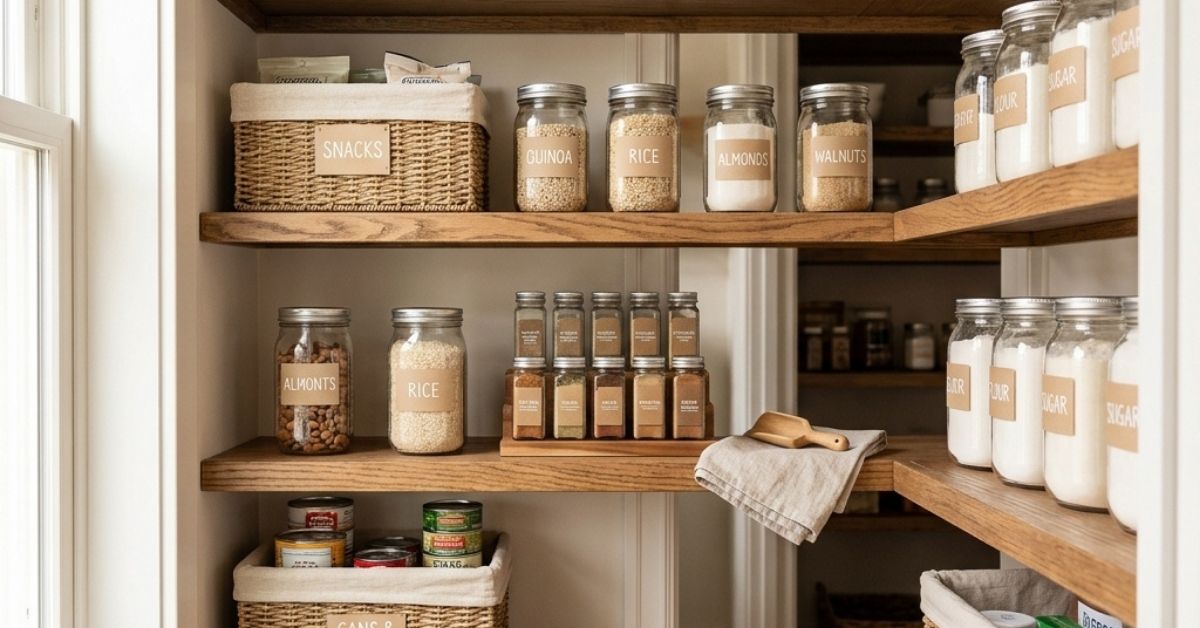
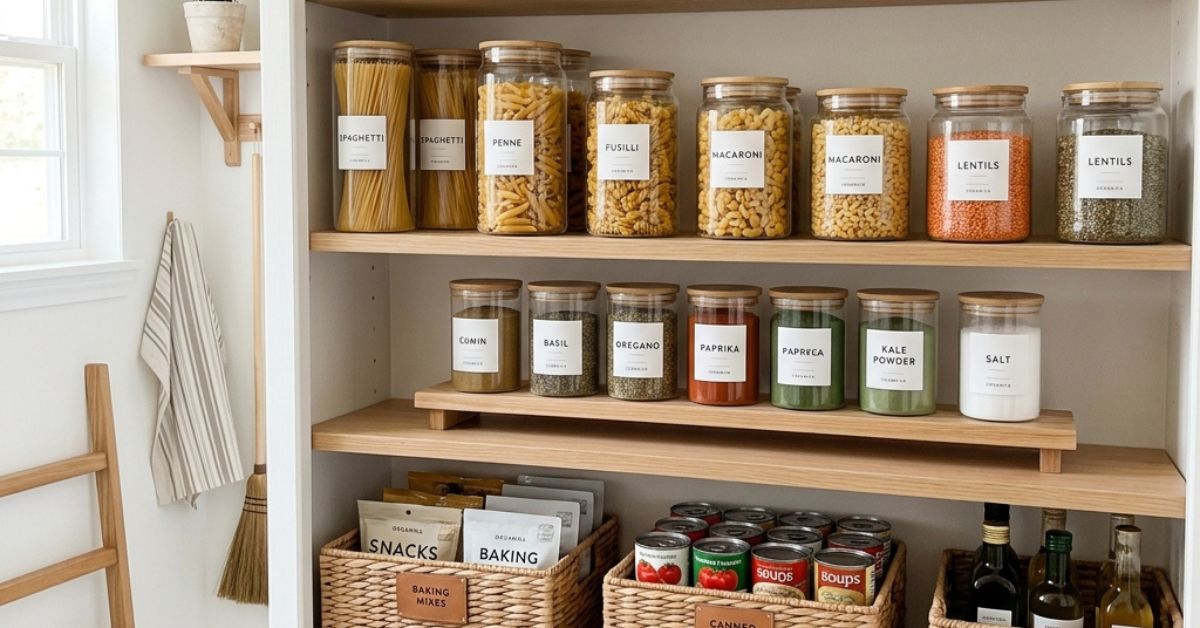
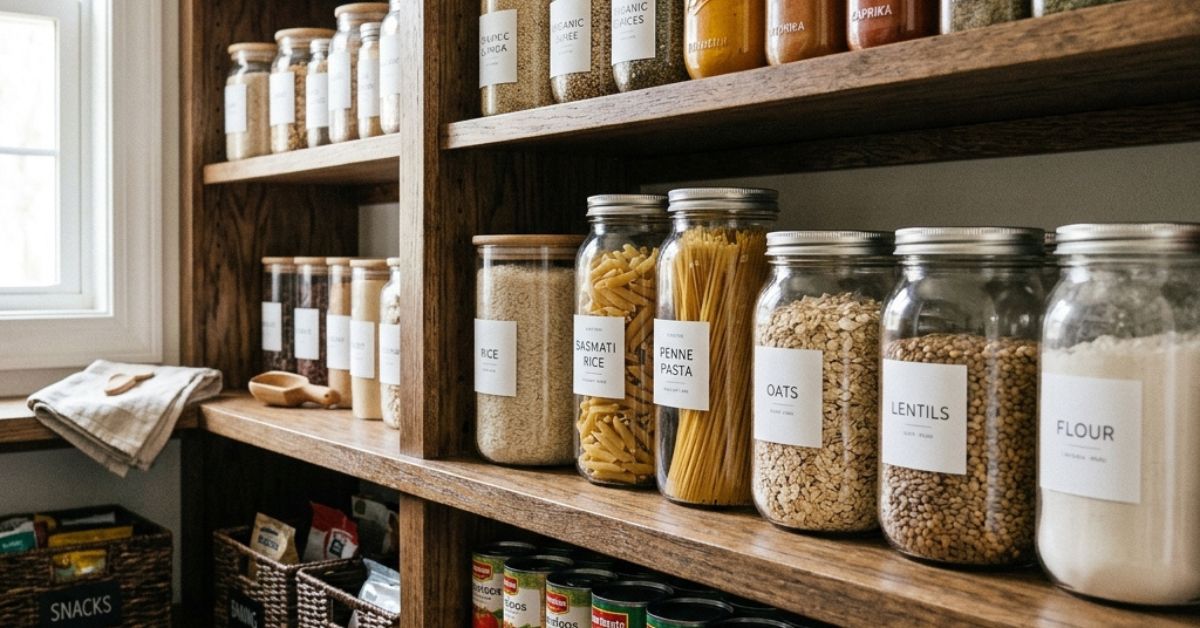
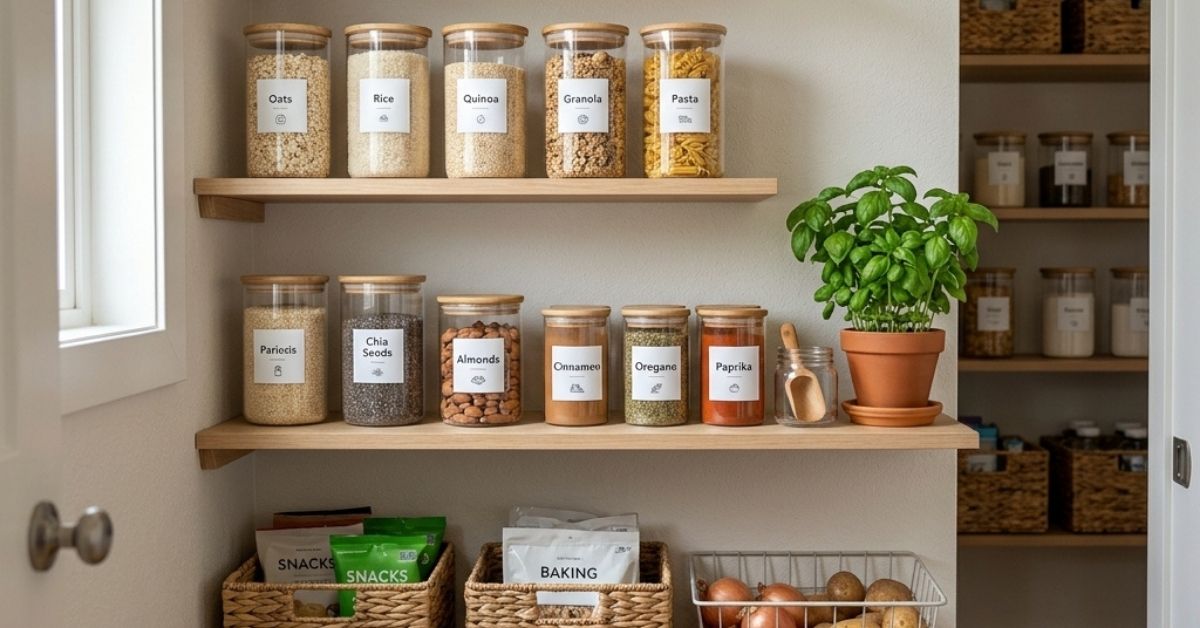
Transferring spices from mismatched original bottles into matching glass jars is the single biggest visual upgrade you can make. Uniform jars stack better, take up less space, and make labels easier to read at a glance.

Look for 4 oz or 8 oz glass jars with airtight lids. Brands like Kamenstein, OXO, and IKEA’s RAJTAN series are popular choices. Magnetic spice tins work especially well for wall-mounted spice rack ideas or the side of a refrigerator.

Step 4: Label everything clearly

Labels aren’t just aesthetic—they’re functional. Write the spice name and the date you decanted or purchased it. You can use a label maker, printed labels, or a simple chalk marker on a dark label.

Clear, consistent spice jar labels are what separate a system that lasts from one that collapses in three weeks.

Step 5: Choose your storage location and system

Pick a home for your spice rack based on your kitchen layout. More on the best systems below—but the key rule is this: keep spices away from the stove, oven, and direct sunlight. Heat and light degrade flavor fast.

Step 6: Put everything back in order

Return spices to their designated spots using your chosen categorization method (more on this below). Do a quick check that everything is visible and reachable. If you have to move three things to get to one spice, the system needs adjusting.

Best Spice Storage Systems: Which One Works for Your Kitchen?

There’s no single best spice storage solution—it depends entirely on your kitchen layout, the size of your collection, and how you cook.

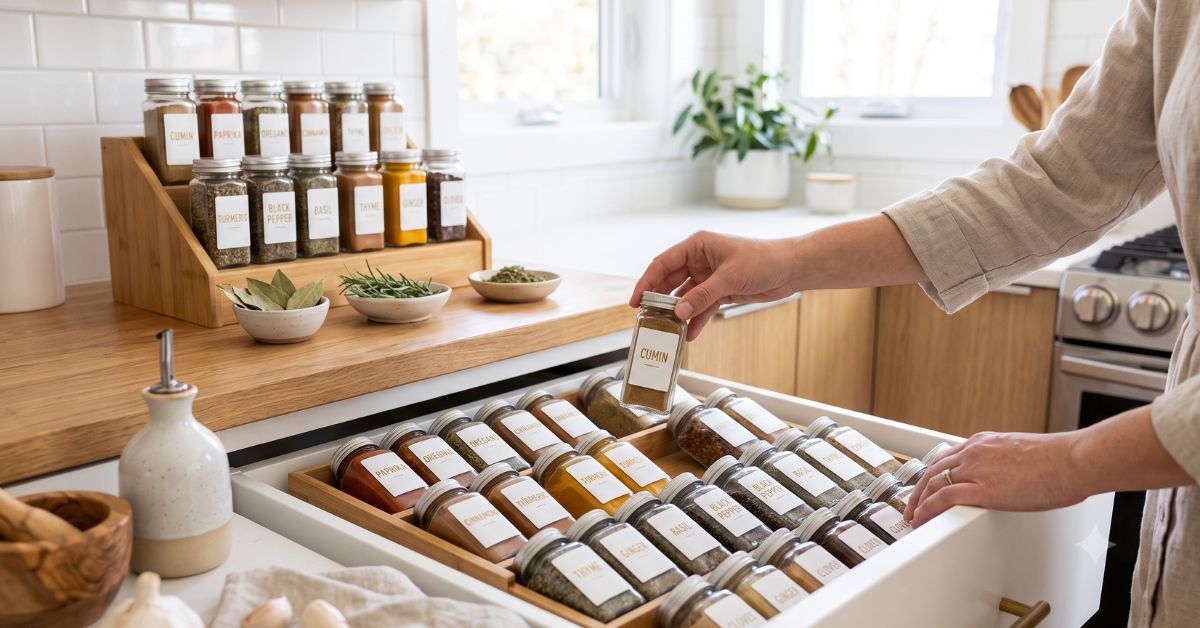
Drawer inserts and drawer spice organizers

A drawer spice organizer lays spices flat so you can read the labels from above. This system works particularly well in modern kitchens with deep drawers. It’s one of the cleanest-looking options and keeps the spice rack off your countertop entirely.

Best for: kitchens with wide, shallow drawers and collections of 20–40 spices.

Pull-out racks and spice rack cabinet pull-outs

A spice rack cabinet pull-out installs inside a cabinet door or as a freestanding unit within a cabinet. When you open the door, every spice faces forward. No digging, no guessing.

IKEA’s VARIERA and similar spice rack cabinet accessories make this a budget-friendly option. For a more custom look, companies like Rev-A-Shelf make high-quality pull-out rack inserts sized to fit standard cabinetry.

Best for: kitchens with narrow cabinet space and cooks who want everything out of sight.

Wall-mounted spice racks

Spice rack ideas for wall mounting work especially well in small kitchens where every inch of counter and cabinet space counts. A vertical spice rack mounted near the prep area keeps your most-used spices within arm’s reach without cluttering surfaces.

Magnetic spice tins mounted to a stainless steel panel or the refrigerator are a popular variation—clean, modular, and easy to rearrange. This doubles as a functional piece of kitchen décor.

Best for: renters, small apartments, and kitchens with limited storage.

Lazy Susan turntables

A Lazy Susan in a corner cabinet or on a pantry shelf lets you rotate through your entire collection with a spin. Nothing hides at the back. This system works particularly well for larger spice collections stored in a deep cupboard or pantry.

Best for: deep cabinets, pantry shelves, and cooks with 40+ spices.

Stackable containers and tiered shelves

Stackable containers and tiered shelf risers add vertical space inside a standard cabinet. Instead of one row of spices, you get two or three. This is one of the most accessible spice storage ideas for cupboards that doesn’t require any installation.

Best for: renters and those who want an easy, low-commitment upgrade.
How to Categorize Spices: What System Actually Works?

Once your spices have a home, you need a logical order. Here are the four most common approaches—with a clear recommendation for each type of cook.

Alphabetical order

Alphabetical is the most universal system. It’s easy to maintain and anyone in the household can find (and return) a spice without asking. This works best for large collections stored in a drawer spice organizer or spice rack cabinet pull-out.

By frequency of use

Place the spices you reach for daily—salt, pepper, garlic powder, cumin—at the front. Lesser-used spices like fenugreek or sumac go at the back. This system prioritizes speed over strict organization, and it works well in high-traffic kitchens.

By cuisine or cooking style

Group spices by the cuisine they belong to: Italian herbs together, Indian spices together, Mexican seasonings together. If you cook from a small set of rotating cuisines, this system can make meal prep noticeably faster.

By flavor profile

Warm spices (cinnamon, nutmeg, cloves) in one section; earthy spices (cumin, coriander) in another; bright and citrusy (sumac, dried lemon) in a third. This approach appeals to creative, intuitive cooks who season by instinct rather than recipe.

What system should you choose?

Alphabetical works for most people. If you cook heavily from one or two specific cuisines, a cuisine-based system will serve you better. The “right” system is the one you’ll actually maintain.

Build a System That Lasts

Organizing your spice rack once is satisfying. Keeping it organized is the real goal.

Set a reminder to review your spice collection every six months. Check expiration dates, toss anything that’s lost its scent, and note what you’re running low on. A quick 15-minute reset twice a year is far easier than a full overhaul every few years.

A few small habits also go a long way: always return spices to the same spot, replace lids fully each time, and resist the urge to toss new purchases anywhere that’s convenient. The system only works if you use it.

A clutter-free kitchen starts with the small spaces. Your spice rack is one of the best places to start.

Related posts

Reference Links: Sources We like

Your Questions, Answered

Do spices expire or go bad?

Spices don’t spoil in a way that makes them unsafe to eat, but they do lose potency over time. Ground spices typically last 2–3 years; whole spices last 3–4 years; dried herbs last 1–3 years. The clearest sign a spice is past its prime: open the jar and smell it. No aroma means no flavor.

Clear glass jars are better for organization—they’re uniform in size, easier to label, and let you see at a glance how much you have left. Original bottles vary wildly in shape and size, which makes stacking and labeling harder. The trade-off is the time it takes to decant, but most cooks find it worth it.

Keep spices away from the stove, oven, and any area that gets warm or steamy. Heat accelerates the breakdown of volatile oils, which is where all the flavor lives. A cool, dry cabinet or pantry shelf is ideal. Wall-mounted spice racks near a window can also be problematic if they’re exposed to direct sunlight.

A full review every six months is enough for most households. Use the change of seasons as a natural prompt—spring and fall work well. During each review, check expiration dates, consolidate duplicates, and wipe down shelves.

A label maker gives the cleanest result and produces durable, smudge-proof labels. Printed labels on sticker paper are a close second. Chalk markers work well on dark round labels for a handwritten look. Whatever method you choose, include both the spice name and the date—this makes future clean-outs much faster.

Recent Articles

Sign up for Newsletter

Categories

Share

More..

Leave a Reply

Your email address will not be published. Required fields are marked *