Our editorial team individually chooses every product for kitchen storage that is suggested on neatcupkit. We might get paid if you buy something after clicking on any of these links.
To organize a small pantry, empty it completely, sort items by category, and group them into zones. Add space-saving organizers like clear bins, tiered risers, over-the-door racks, and Lazy Susans. Then label everything and reset it regularly to keep it clutter-free.
A messy pantry can turn cooking into a chore. You reach for the cinnamon and knock over three cans. You buy pasta you already have because you couldn’t see the box hiding in the back. Sound familiar?
Learning how to organize a small pantry changes all of that. With a few smart swaps and a clear plan, even the tiniest space can feel calm and functional. You’ll find what you need in seconds and stop wasting money on duplicate groceries. Explore Pantry & Cabinet Storage Bins essentials from the Amazon storefront.
In this guide, I’ll walk you through how to organize a small pantry step by step. I’ll share the best organizers for tight spaces, show you how to zone your food, and answer the questions people ask most. Let’s make your pantry work harder for you.
Why Organizing a Small Pantry Makes a Big Difference
A small pantry doesn’t have to feel cramped. When you organize small pantry shelves the right way, you unlock space you didn’t know you had.
Here’s why it matters so much.
You save money. When you can see everything, you stop buying doubles. No more three jars of the same sauce shoved behind the flour.
You waste less food. Items pushed to the back get forgotten and expire. A tidy pantry keeps your dry goods and snacks in plain sight.
You cook faster. Grabbing a spice or a can of beans takes seconds when every item has a home. That’s a big win on busy weeknights.
You feel calmer. An organized kitchen lowers stress. Opening a neat pantry each morning just feels good.
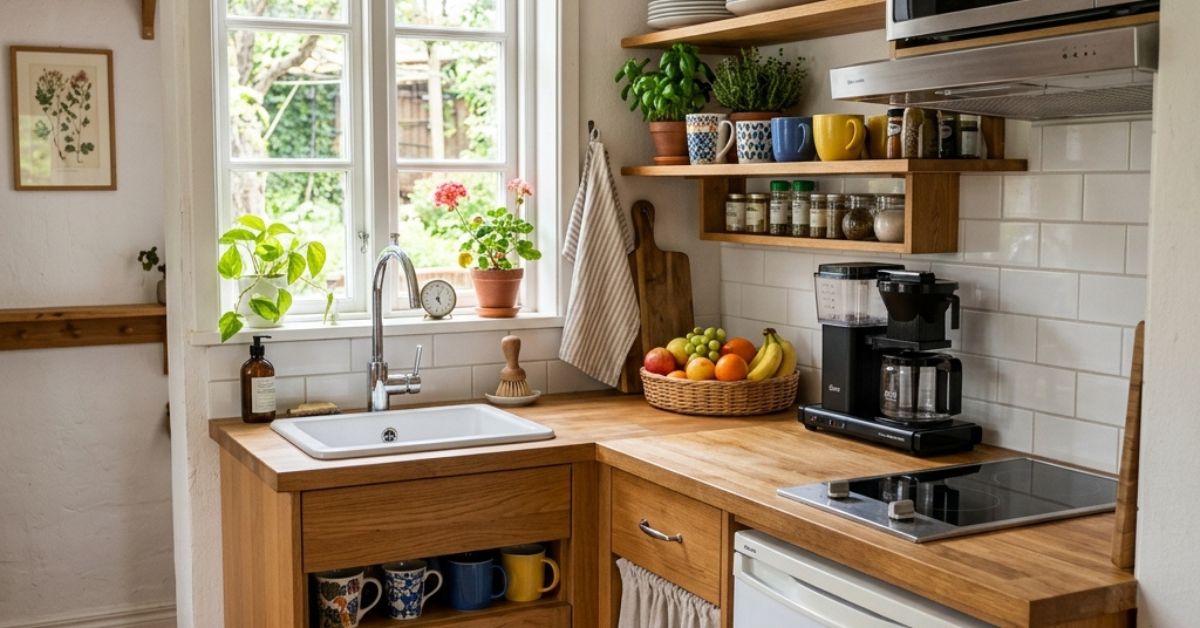
Even a small efficiency kitchen benefits from these changes. A little effort goes a long way in a tight footprint.
How to Organize a Small Pantry (Step-by-Step)
Ready to get started? Follow these steps to organize small pantry space from top to bottom. Set aside an afternoon and put on some music.
Step 1: Empty Everything Out
Take every item off the shelves. Yes, all of it. This is the only way to see what you actually have.
Lay it all out on your counter or kitchen table. You’ll likely spot expired cans and forgotten snacks right away.
Step 2: Toss and Donate
Check expiration dates as you go. Throw out anything past its prime. Set aside unopened, unexpired items you won’t use for a food bank.
This step alone frees up a surprising amount of room.
Step 3: Clean the Shelves
Wipe down every shelf and corner. Crumbs and spills love to hide in a pantry. Starting with a clean space makes the whole project feel fresh.
Step 4: Group Like With Like
Sort your food into categories. Put all canned goods together, all baking supplies together, all snacks together. This is the foundation of a well-organized pantry.
Step 5: Add Organizers
Now bring in your bins, risers, and racks. These tools turn awkward space into usable storage. I’ll cover the best options in the next section.
Step 6: Put Everything Back in Zones
Return items to the shelves by category. Keep everyday items at eye level. Store rarely used items up high or down low.
Step 7: Label Everything
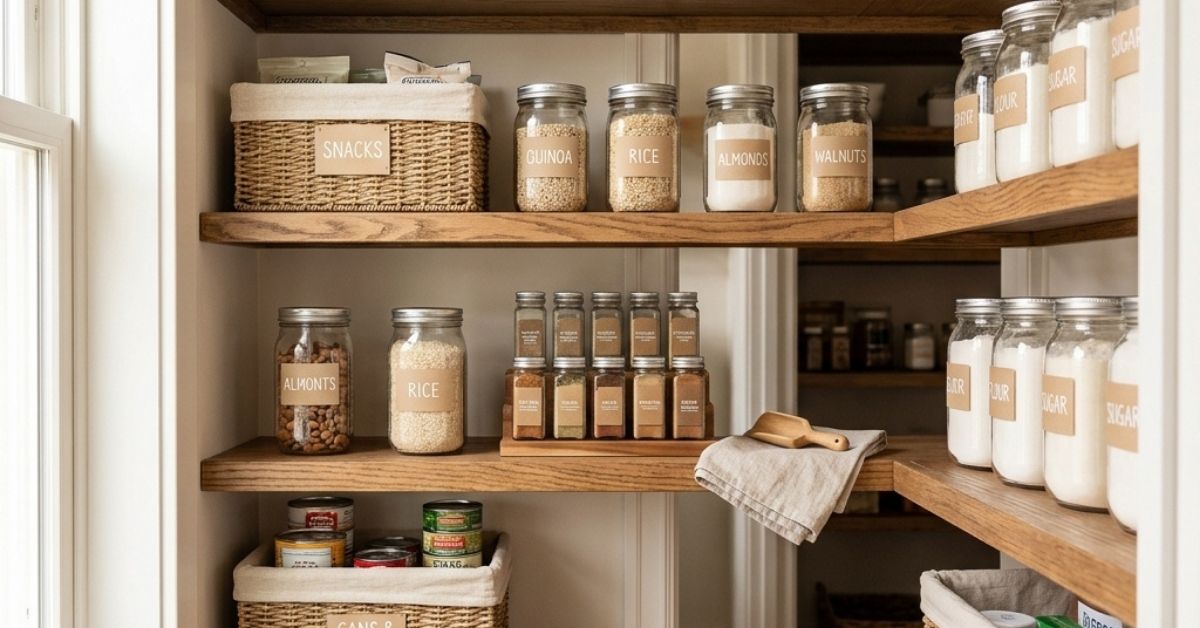
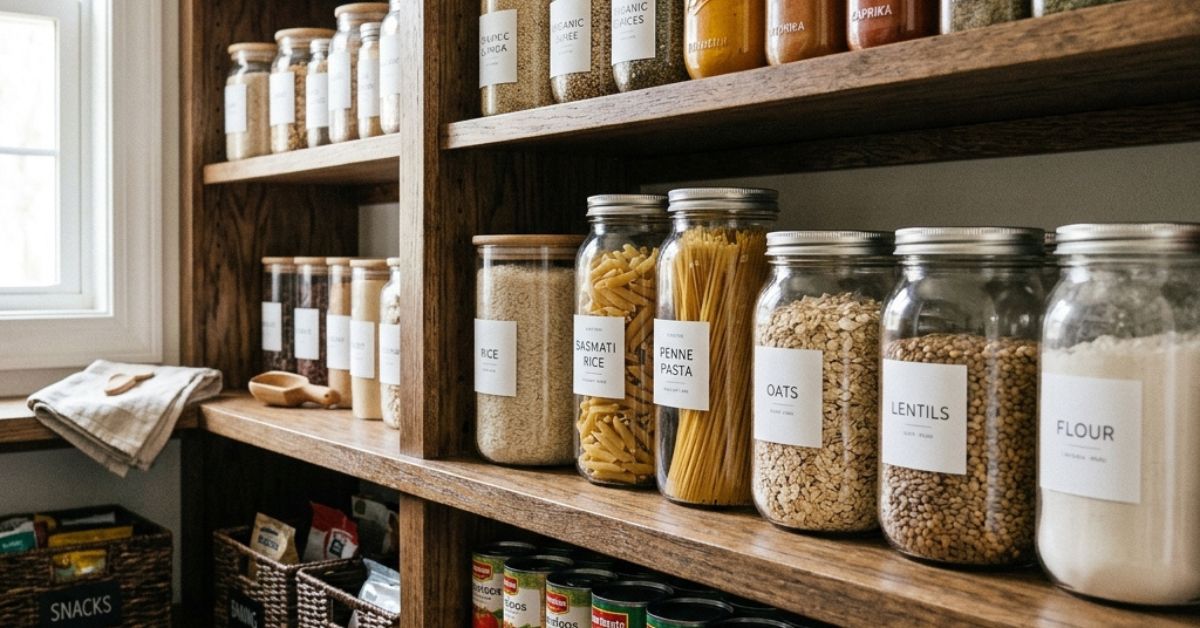
Labels are the secret to keeping your pantry tidy long term. When everyone knows where the pasta goes, it actually gets put back there. Use a label maker or simple sticky labels.
Best Space-Saving Organizers: Bins, Tiered Risers, Over-the-Door Racks, or Lazy Susans?
The right organizers make or break a small pantry. Here’s how to pick the best ones for your needs.
Clear Bins and Baskets
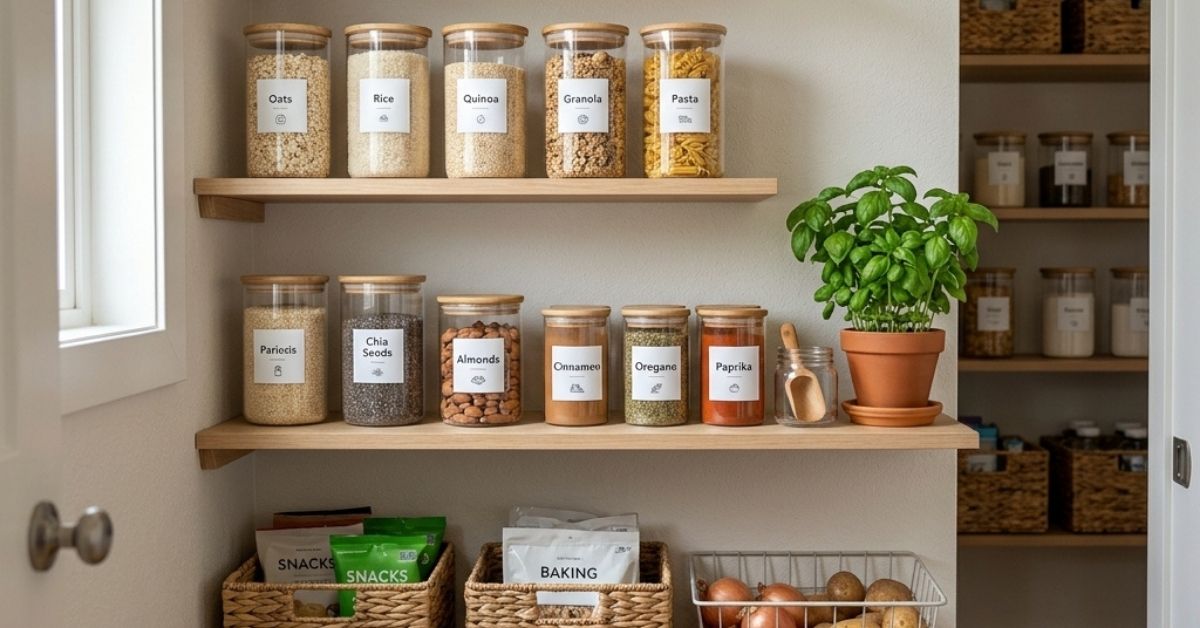
Clear bins let you see what’s inside at a glance. Group snacks, packets, or baking supplies in one basket you can pull out like a drawer.
Choose bins if you want to corral loose items and stop clutter from spreading. Retailers like Target, Amazon, and IKEA all carry affordable options.
Tiered Shelf Risers
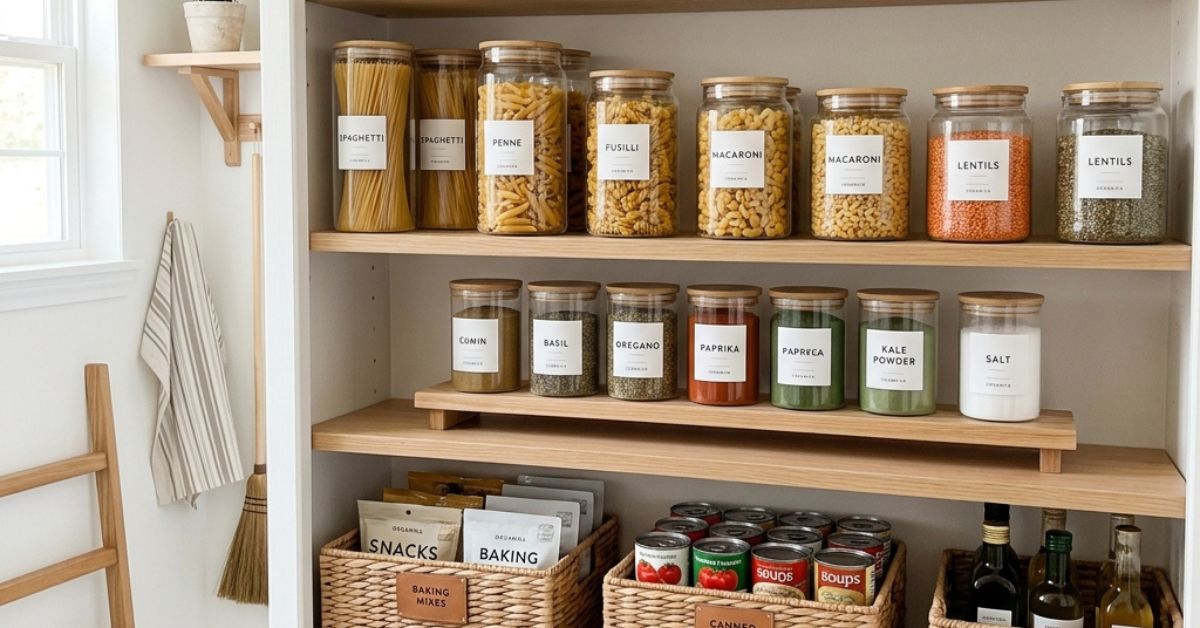
A tiered riser lifts back rows higher than front rows. This helps you see every can or spice jar without digging.
Pick risers for canned goods and spices, where hidden items get forgotten fast.
Over-the-Door Racks
An over-the-door rack uses space that’s usually wasted. Hang one on the pantry door to store spices, foil, or small packets.
Choose this option if your shelves are full but your door is bare. It’s a lifesaver in tiny kitchens.
Lazy Susans
A Lazy Susan spins like a railway turntable, so you can reach items at the back with one turn. It works wonders for sauces, oils, and condiments.
Pick a Lazy Susan for deep corners where things get lost. One spin brings the back row right to you.
Which should you choose? If your budget is tight, start with clear bins and one over-the-door rack. Add tiered risers and a Lazy Susan later as needs grow.
How to Zone Different Food Categories (Canned Goods, Spices, Dry Grains, Snacks)
Zoning is where the magic happens. When you give each food type its own home, your pantry runs itself. Here’s a simple zoning plan.
Canned Goods Zone
Keep soups, beans, tomatoes, and sauces together. Use a tiered riser so labels face out. Stack similar cans in neat rows.
Spices Zone
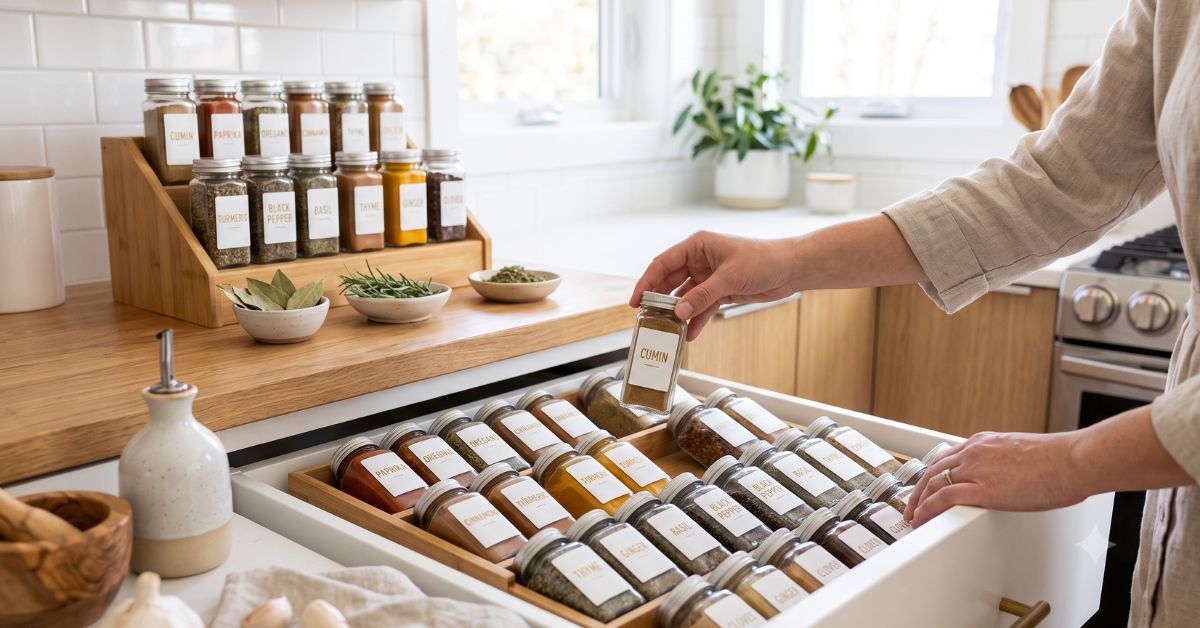
Spices get lost fast. Store them on a tiered riser, a drawer with DIY drawer dividers, or an over-the-door rack. Alphabetize them if you cook a lot.
Dry Grains Zone
Group rice, pasta, oats, and flour together. This zone is perfect for clear jars or bins. You’ll spot when you’re running low on staples.
Snacks Zone
Give kids their own reachable snack basket. This cuts down on constant “where’s the chips?” questions. Keep it at a low shelf they can reach.
Baking Zone
Store sugar, baking soda, sprinkles, and mixes in one spot. When it’s baking day, you grab one bin and you’re set.
Group each zone by how often you use it. Everyday zones go at eye level. Baking and backup zones can sit higher or lower.
Your Small Pantry, Reimagined
A tidy pantry isn’t about having a huge space. It’s about using the space you have with intention. When you empty, sort, zone, and label, even the smallest pantry becomes a joy to use.
Start with one shelf if the whole project feels like too much. Add organizers as you go, mixing bins, risers, racks, and a Lazy Susan to fit your setup. Before long, you’ll open your pantry and smile instead of sigh.
Your next step? Grab a few clear bins and set aside one afternoon this weekend. Your future self, cooking dinner without knocking over cans, will thank you.
How do you maximize space in a very shallow or narrow pantry?
Use vertical space and the door. Add tiered risers to stack items upward and an over-the-door rack for spices and small packets. Slim, stackable bins also help you fit more into a narrow footprint without crowding shelves.
What are the best containers for small pantry organization?
Clear, stackable, airtight containers work best. They let you see contents at a glance and keep dry goods fresh. Square or rectangular containers save more space than round ones because they fit together without gaps. Target, Amazon, and IKEA all sell budget-friendly sets.
Should you decant all food items into matching jars?
Not always. Decanting flour, rice, and pasta into matching jars saves space and looks neat. But it takes time and money. If your budget is tight, decant only your most-used staples and leave the rest in their original packaging.
How do you organize a small pantry without built-in shelves?
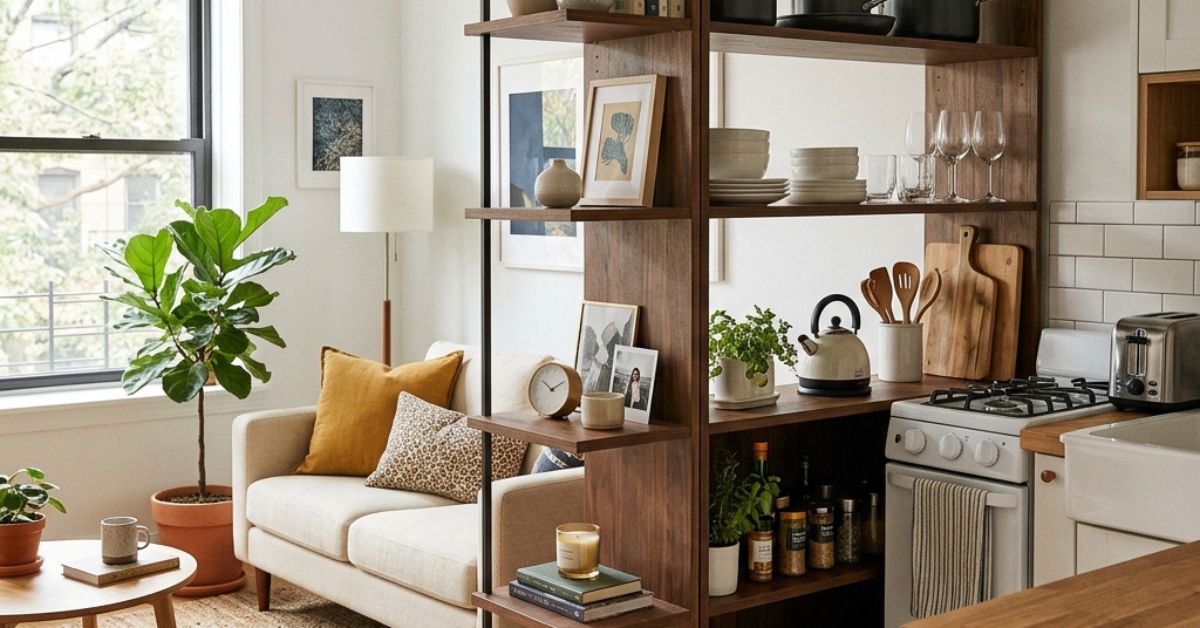
Use freestanding storage. A slim bookshelf, a rolling cart, or DIY shelving ideas can turn a bare closet into a working pantry. Add stackable bins and over-the-door racks to build storage upward. Even a utility closet can become a functional pantry this way.
How often should you clean and reset a small pantry?
Do a quick tidy weekly and a full reset every three months. During the reset, check expiration dates, wipe shelves, and re-zone anything that drifted out of place. This keeps your small pantry clutter-free all year.