How to Organize a Small Pantry with Deep Shelves | 7 Easy Ways to Organize a Small Pantry

how to organize a small pantry with deep shelves

Our editorial team individually chooses every product for kitchen storage that is suggested on neatcupkit. We might get paid if you buy something after clicking on any of these links.

To organize a small pantry with deep shelves, use pull-out bins, turntables, and shelf risers to bring hidden items to the front. Group foods into zones, store daily items up front, and keep backups behind them. This stops food from getting lost and doubles your usable space.

Do you ever buy pasta at the grocery store, only to find three more boxes hiding in the back of your pantry? You’re not alone. Deep pantry shelves promise lots of space, but they often become black holes where food disappears and expires.

The good news? You don’t need a bigger kitchen. You just need a smarter system. I’ve spent years testing ways to tame deep, awkward shelves in small apartments and family kitchens. Explore more pantry storage essentials from the Amazon storefront

In this guide, I’ll show you exactly how to organize a small pantry with deep shelves. You’ll learn the biggest challenges, a simple step-by-step method, the best tools to buy, and how to lay out your zones. Let’s turn that messy pantry into a space you actually love.

The Biggest Challenges of Deep Pantry Shelves (And Why Clutter Happens)

Deep shelves sound great on paper. More depth means more room, right? But that extra depth is often the source of your problems.

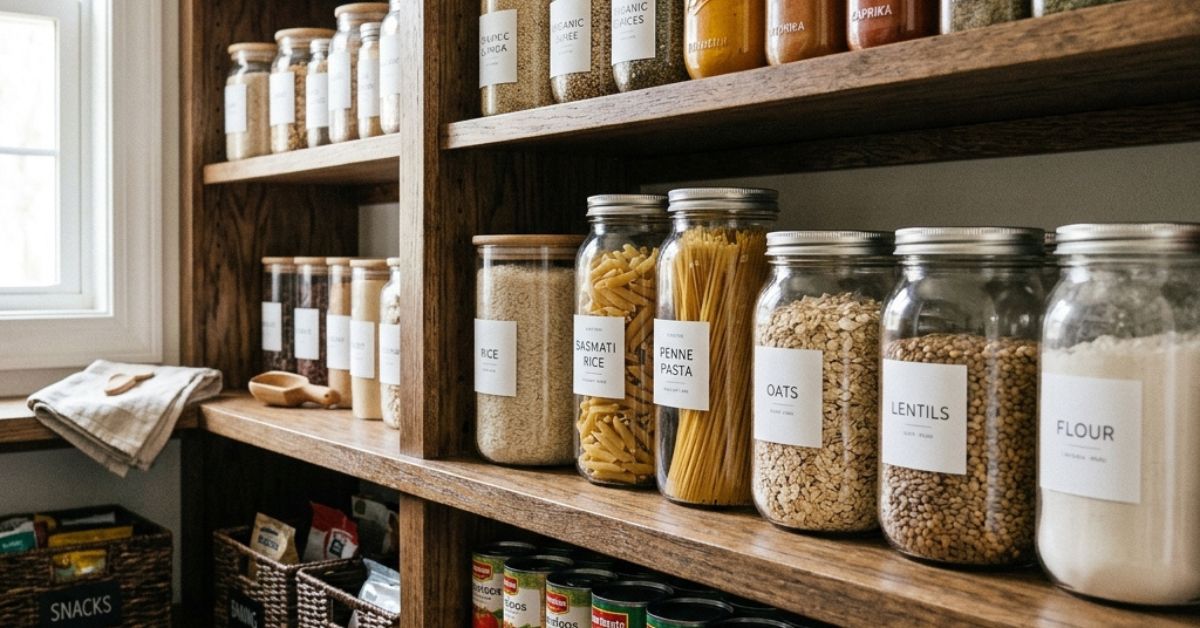
The main issue is visibility. When a shelf is 16 to 24 inches deep, anything at the back becomes invisible. You forget it exists. That’s how you end up with expired sauce and duplicate bags of rice.

The second problem is access. To reach a can at the back, you have to move everything in front of it. Most people don’t bother. So the front rows get used, and the back becomes a graveyard for granola, beans, and forgotten snacks.

Clutter happens because there’s no clear system. Items get shoved wherever they fit. A small pantry with deep shelves needs structure, or it quickly turns chaotic.

Here’s the truth: depth is only useful if you can see and reach what’s inside. That’s the whole goal of the steps below.

How to Organize Deep Pantry Shelves Step-by-Step

Ready to fix your small pantry? Follow these steps in order. Don’t skip ahead—each step builds on the last.

Step 1: Empty everything out

Start with a clean slate. Take every item off your deep pantry shelves and set it on a table or counter.

This feels like a lot, but it’s worth it. You can’t organize a space you can’t see. Wipe down the empty shelves while you’re at it.

Step 2: Sort and toss

Check every expiration date. Toss anything old, stale, or opened long ago.

Group what’s left into piles: pasta, snacks, baking supplies, breakfast foods, and canned goods. You’ll likely find duplicates. Combine them now.

Step 3: Measure your shelves

Before you buy any tools, grab a tape measure. Note the depth, width, and height between each shelf.

Wondering how deep should pantry shelves be? Most pantry shelves run 12 to 24 inches deep. Knowing your exact numbers helps you buy bins and turntables that actually fit.

Step 4: Plan your zones

Decide what goes where before you put anything back. Keep daily items at eye level. Store backups and rarely used goods up high or down low.

We’ll cover zones in detail below. For now, just picture your ideal layout.

Step 5: Add your tools and load it up

Place your bins, turntables, and risers first. Then load your food into them by category.

Put the items you use most at the very front. This simple habit is the key to how to organize deep pantry shelves for good.

Best Organizing Tools: Pull-Out Bins, Turntables, Risers, & Shelf Dividers

The right tools turn a deep shelf into an easy-to-use drawer. Here are my favorites for a small pantry with deep shelves.

Pull-out bins

Pull-out bins are the number one fix for deep shelves. You grab the handle, pull the whole bin forward, and suddenly the back is right in front of you.

Use them for snacks, baking supplies, or packet mixes. They work like a drawer, even on a fixed shelf.

Turntables (lazy Susans)

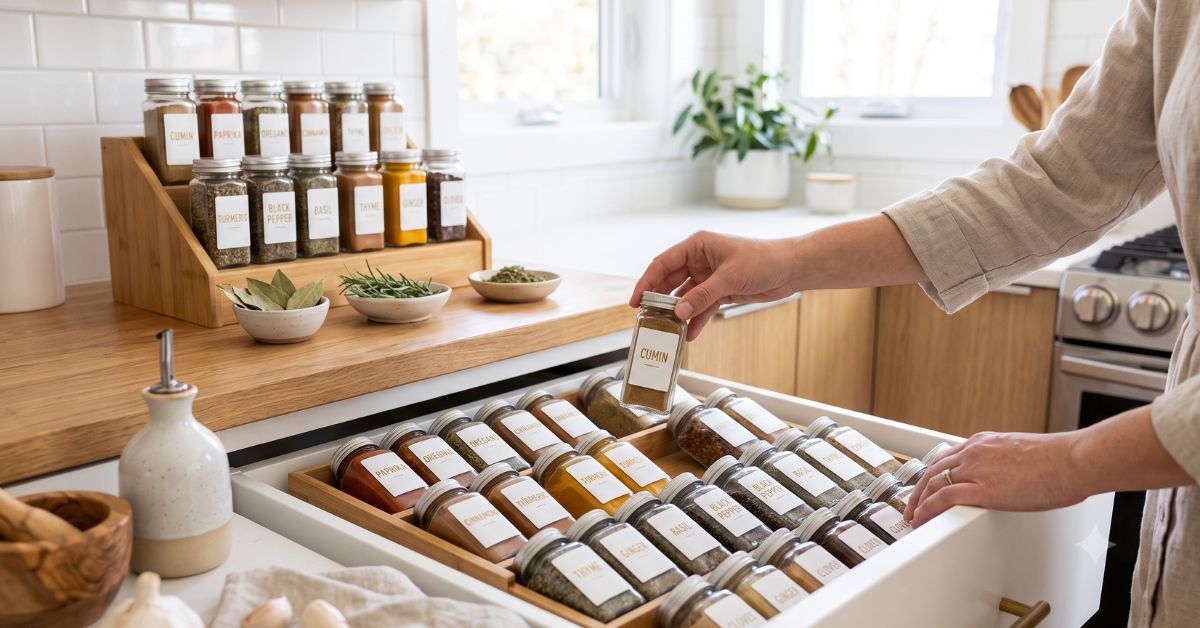
A lazy Susan spins, so you never lose items in a corner. One turn brings the back to the front.

They’re perfect for oils, vinegar, sauces, and small jars. Choose a two-tier turntable if your shelves are tall.

Shelf risers

Risers add a second level inside one shelf. This doubles your storage without wasting the vertical gap.

Use them for canned goods so you can see every label at a glance. No more digging through stacks.

Shelf dividers

Dividers keep tall, floppy items upright. Think cereal boxes, baking sheets, or bags of flour.

They stop everything from tipping over into a messy pile. Your small pantry stays neat with almost no effort.

Bonus: clear containers

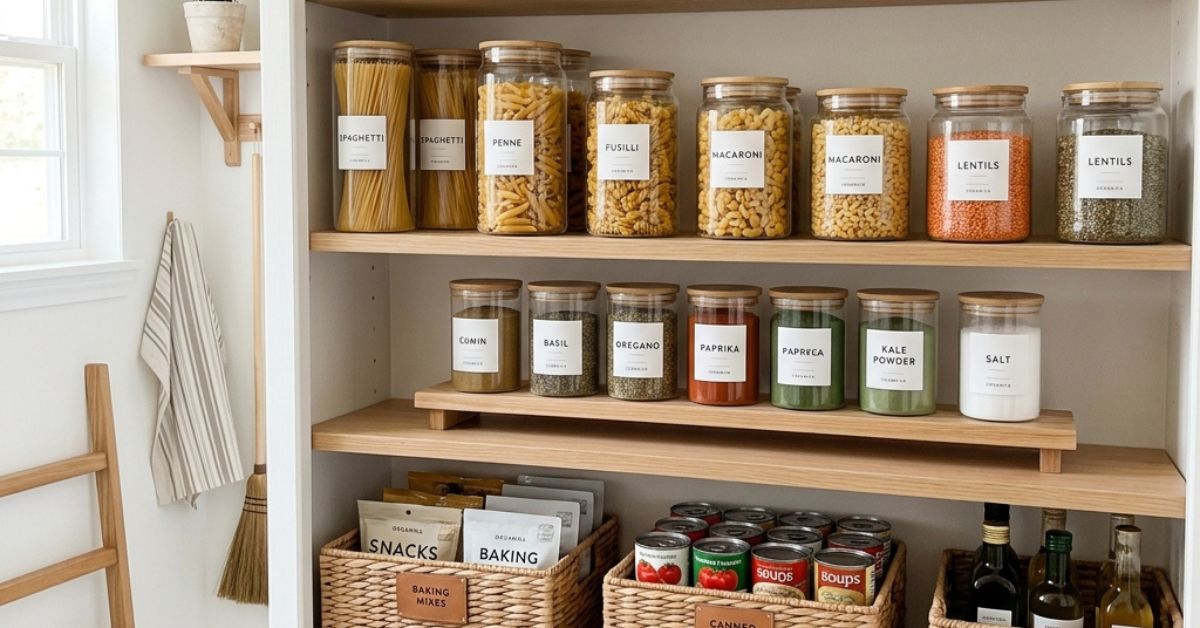
Clear containers are great for pasta, rice, oats, and cereal. You can see exactly how much is left. They also keep food fresh longer than the original box.

These same tools work beyond the kitchen. The bins and dividers you use for kitchen drawer organization can also help with linen closet organization and cleaning supplies organization.

Zone-by-Zone Pantry Layout: What Goes in Front vs. Back

Zones are the secret to a small pantry that stays organized. Each type of food gets a home. When everyone in your house knows the system, clutter stops before it starts.

The golden rule is simple. Front = daily use. Back = backups and extras.

The front zone (grab-and-go)

The front of each shelf is prime real estate. Put the things you reach for every day here.

Think breakfast items, daily snacks, coffee, and go-to sauces. If you use it often, it lives up front.

The back zone (overflow and backups)

The back is for extras and items you buy in bulk. Store your spare cans, backup pasta, and rice here.

Because pull-out bins and turntables bring the back forward, these items won’t get lost. You’ll see them when you need them.

Eye-level zone (favorites)

Eye level is the easiest spot to reach and see. Reserve it for your most-used categories.

For many families, that’s snacks and breakfast foods. Kids can grab granola without wrecking the whole shelf.

Top and bottom zones

Use high shelves for light, rarely used items like party supplies. Use low shelves for heavy items.

Speaking of heavy—let’s talk about canned goods, since they need special care.

How to organize heavy canned goods on deep pantry shelves

Heavy cans belong on low or middle shelves, never way up high. A falling can of beans can hurt.

Use a shelf riser or a can organizer so labels face out. Rotate older cans to the front so you use them first. This “first in, first out” habit prevents waste.


Your Small Pantry Makeover Starts Now

A small pantry with deep shelves doesn’t have to be a source of stress. With a few smart tools and a clear zone system, you can see every item and reach it in seconds.

Remember the core steps: empty, sort, measure, zone, and load. Then keep daily items up front and backups behind them. That single habit solves most pantry problems.

Start this weekend. Pick one shelf, add a pull-out bin or turntable, and feel the difference. Once you see how much space you gain, you’ll want to redo the whole kitchen—and maybe your closets too.

Ready to reclaim your space? Grab a tape measure and start today. Your future self, and your grocery budget, will thank you.

Related posts

Reference Links: Sources We like

Your Questions, Answered

How do you keep items from getting lost in the back of deep pantry shelves?

Use pull-out bins and turntables that bring back items to the front. Store backups behind daily-use items, and label everything clearly. Rotate older food forward so it gets used first.

Choose long, narrow pull-out bins that match your shelf depth. Clear containers work well for pasta, rice, and cereal since you can see how much is left. Always measure your shelves before buying.

Use both, depending on the item. A lazy Susan is best for small jars, oils, and sauces. Pull-out bins are better for snacks, packets, and grouped categories you want to slide forward at once.

Keep heavy cans on low or middle shelves for safety. Use a shelf riser or can organizer so labels face out. Rotate older cans to the front so nothing expires unused.

Do a quick check every month and a full reset every three to six months. Toss expired food, wipe the shelves, and re-sort your zones. Regular resets keep clutter from building back up.

Recent Articles

Sign up for Newsletter

Categories

Share

More..

One Response

Leave a Reply

Your email address will not be published. Required fields are marked *