How to Organize Deep Pantry Shelves | So Nothing Gets Lost

how to organise deep pantry shelves

Our editorial team individually chooses every product for kitchen storage that is suggested on neatcupkit. We might get paid if you buy something after clicking on any of these links.

To organize deep pantry shelves, start by emptying and cleaning every shelf, then group items by category into clearly labeled zones. Use pull-out bins, clear containers, tiered risers, and turntables to keep items visible and within reach—so nothing disappears into the back of the shelf again.

You open the pantry. You know the pasta is in there somewhere. Five minutes later, you’ve moved three cans of soup, knocked over a bag of rice, and found an expired box of crackers from last year. Sound familiar?

Deep pantry shelves are one of the most common kitchen storage problems. They offer a lot of space—but without the right system, that space works against you. Items pile up, things get forgotten, and grocery shopping becomes a guessing game.

The good news? Organizing deep pantry shelves doesn’t require a full renovation or a huge budget. With a clear process and the right tools, you can transform even the most chaotic pantry into a space that actually works.

Why Organizing Your Pantry Shelves Makes a Difference

A well-organized pantry saves you time, money, and frustration. When you can see everything clearly, you stop buying duplicates of things you already own. You also reduce food waste because items get used before they expire.

Deep pantry shelves are especially prone to the “out of sight, out of mind” problem. Items pushed to the back are essentially lost. A good system brings everything forward—and keeps it there.

Beyond the practical benefits, an organized pantry just feels better. Opening a calm, clear space at the start of a busy weekday morning genuinely changes the tone of your day.

How to Organize Pantry Shelves Step-by-Step

Step 1: Empty and Clean Every Shelf

Pull everything out. Yes, everything. This is the only way to see exactly what you’re working with.

Once the shelves are clear, wipe them down with a damp cloth. Deep pantry shelves collect dust and crumbs quickly, and a clean surface makes the whole reorganization feel more satisfying.

Step 2: Declutter and Check Expiration Dates

Go through every item and check its expiration date. Anything expired goes straight in the bin—no second-guessing.

For items that are still good but that you know you won’t use, consider donating them to a local food bank. This is also the time to take a simple inventory of what you have. Knowing exactly what’s in your pantry means fewer unnecessary trips to the grocery store.

Step 3: Group Items by Category (Zones)

Grouping items by category is the foundation of any good pantry system. Think of each shelf or section as a dedicated zone.

Common zones include:

  • Breakfast: cereals, oats, granola, nut butter

  • Baking: flour, sugar, baking powder, vanilla

  • Canned goods: beans, tomatoes, broth, soups

  • Snacks: crackers, chips, dried fruit, nuts

  • Grains and pasta: rice, pasta, quinoa, lentils

  • Condiments and sauces: oils, vinegars, soy sauce, hot sauce

Keep your most-used zones at eye level and within easy reach. Store bulky or rarely used items—like large bags of flour or spare appliances—on higher or lower shelves.

Step 4: Use the Right Bins, Baskets, and Risers

This step is where deep pantry shelves get transformed. The right storage solutions bring items from the back of the shelf to the front.

Pull-out bins are one of the best investments for deep shelves. You can pull the whole bin forward to grab what you need, then slide it back. No more reaching blindly into the dark.

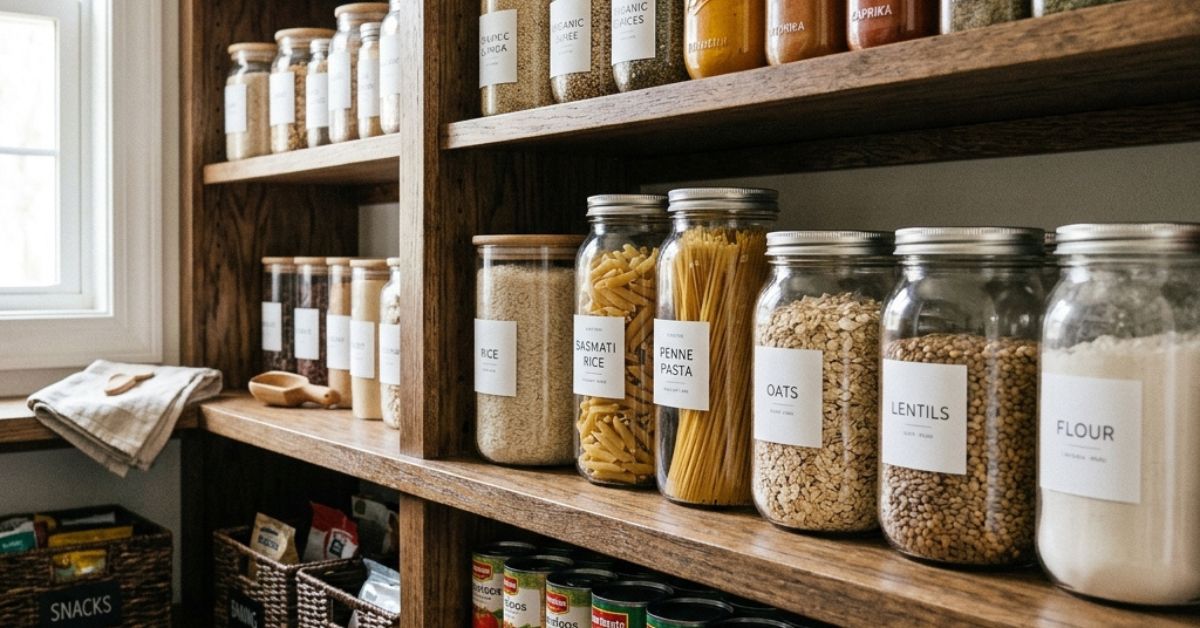
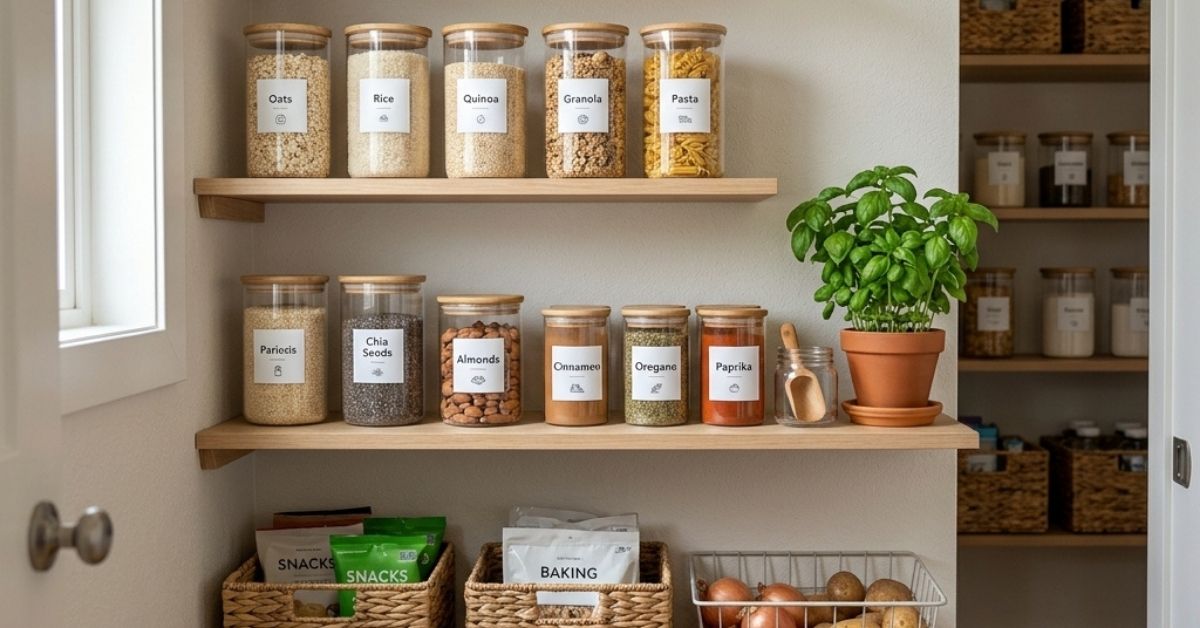
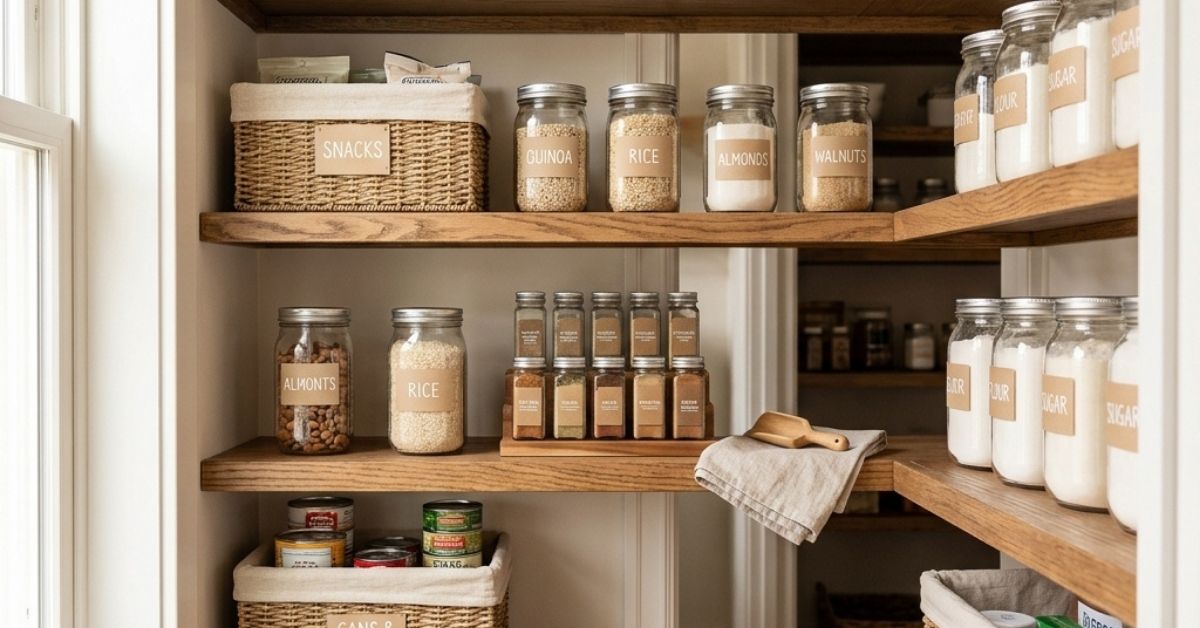
Clear containers help you see exactly how much of something you have at a glance. They work especially well for grains, pasta, cereals, and baking ingredients.

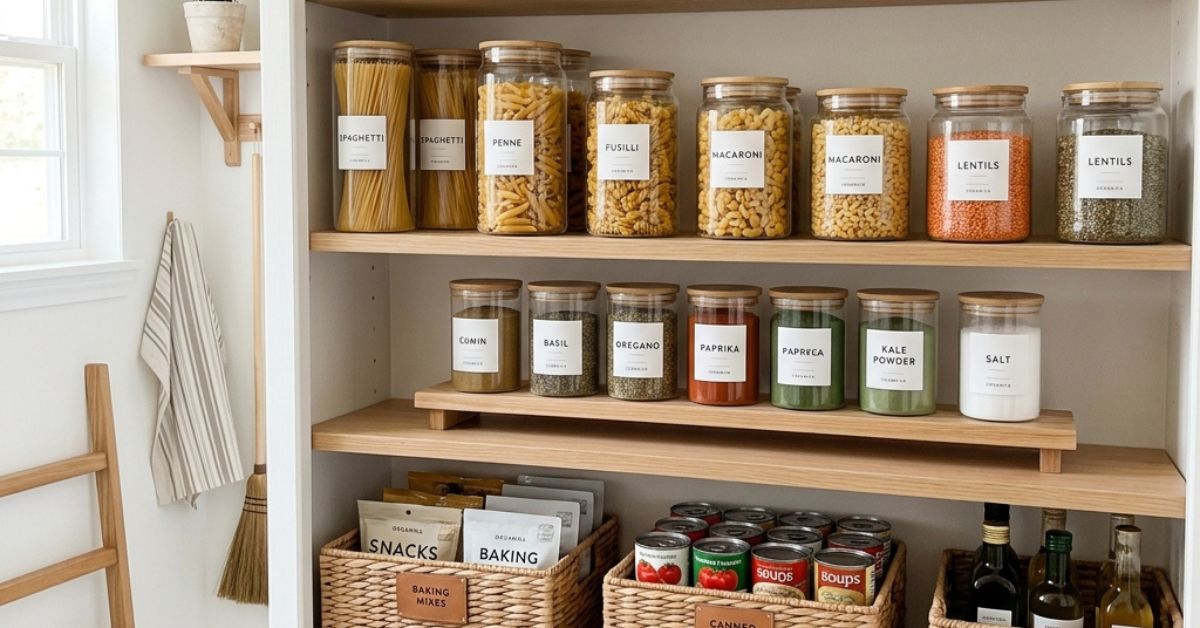
Tiered risers add a second level to a single shelf, making it easy to see cans and jars without stacking them. Turntables (lazy Susans) are great for corner shelves or for grouping oils, sauces, and condiments that you reach for regularly.

For a budget-friendly DIY approach, open wire baskets work well on deep pantry shelves. They allow airflow, keep items contained, and are easy to pull forward.

Step 5: Label Everything for Easy Maintenance

Labels are what keep a pantry organized long after the initial tidy-up. Without them, zones shift, items drift, and things end up back where they started.

Use a label maker, chalkboard labels, or simple printed stickers. Label shelves, bins, and containers so that everyone in the household knows where things belong. A good labeling system turns maintenance from a chore into a two-second habit.


Best Organizing Solutions for Pantry Shelves: Bins, Clear Jars, Tiered Risers, or Turntables?

The best solution depends on what you’re storing—and how deep your shelves are.

Solution

Best for

Why it works

Pull-out bins

Snacks, packets, produce

Easy access without reaching to the back

Clear jars/containers

Grains, pasta, baking goods

Visibility and airtight storage

Tiered risers

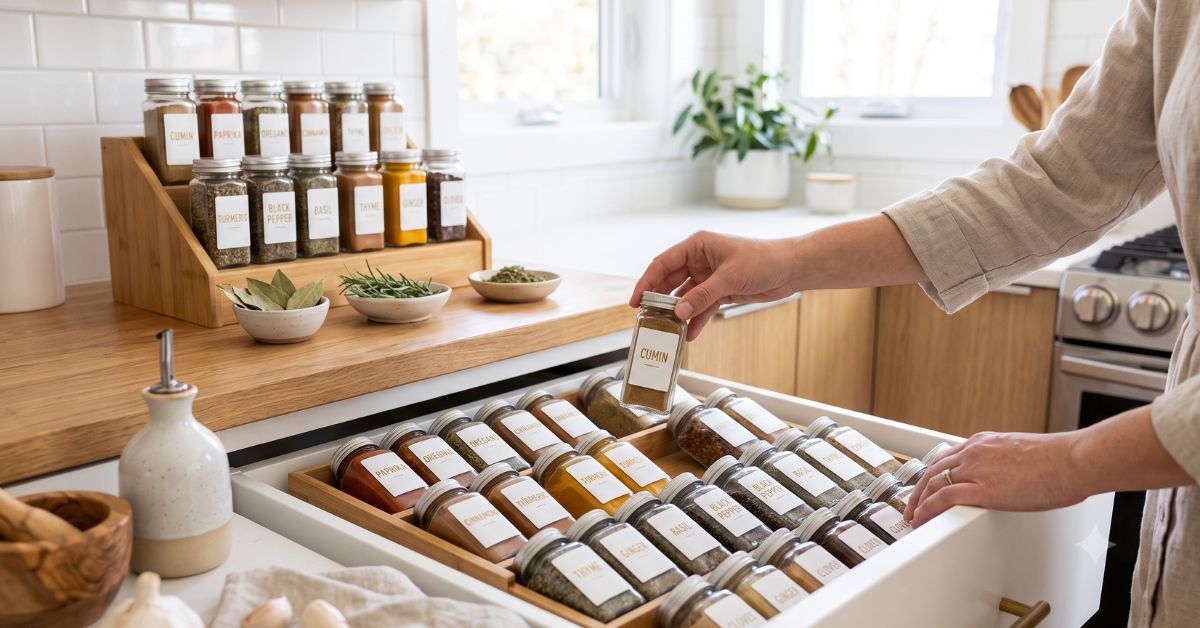
Cans, jars, spice bottles

Maximizes vertical storage on a single shelf

Turntables (Lazy Susans)

Oils, condiments, sauces

Rotates for easy access in deep or corner shelves

Shelf dividers

Cutting boards, baking trays

Keeps flat items upright and organized

Deep pantry pull-out shelves

All categories

The gold standard for deep cabinet organization

The Shelf King™ offers pantry organizers designed specifically for deep cabinet storage, with sliding and pull-out options that make full use of your shelf depth without sacrificing accessibility.

For budget-friendly options, IKEA pantry shelf solutions—including their modular IVAR and PAX systems—offer adjustable shelving that adapts to different pantry sizes and configurations. IKEA pantry shelf ideas are widely shared across platforms like Reddit and Pinterest, with many DIY variations using IKEA components to build custom deep pantry pull-out shelves.

How to Organize Different Shelf Types

How do you organize deep pantry shelves so items don’t get lost?

The key to organizing deep pantry shelves is to never store items in single-depth rows. Use pull-out bins or sliding drawers so the entire shelf depth is accessible. Group like items together in containers, so you pull out the whole bin—not just one item at a time. Clear containers and labels make everything visible at a glance.

What is the best way to organize wire pantry shelving?

Wire racks let smaller items fall through or tip over. Line wire shelves with shelf liners or use flat-bottomed baskets to create a stable surface. Bins with solid bases work better than open containers on wire racks. For deep wire shelving, use pull-out baskets designed specifically for wire shelf systems.

How do you organize corner shelves in a pantry?

Corner shelves are notoriously tricky. A turntable (lazy Susan) is your best tool here—it rotates to bring items from the back to the front with a single spin. For larger corner pantries, consider a dedicated corner shelf unit with tiered or rotating tiers.

How do you organize high pantry shelves?

Reserve high shelves for items you use infrequently—extra stock, seasonal baking supplies, or backup pantry goods. Use clearly labeled, lidded bins that you can safely reach with a step stool. Keeping heavy items low and light items high also reduces safety risks.

Keep It Working: Simple Habits That Maintain the System

Getting organized is one thing. Staying organized is another.

A few simple habits make all the difference. Do a quick five-minute pantry reset once a week—check that items are in their zones and pull anything near its expiration date to the front. Every three to six months, do a fuller clean-out: remove everything, wipe down shelves, and reassess your zones based on how your cooking habits have shifted.

Seasonal changes are also worth factoring in. Baking supplies might move to eye level in the lead-up to the holidays. Snacks and lunchbox items might need their own accessible zone during the school term.

Related posts

Reference Links: Sources We like

  1. Lowe’s – Project Source Commander 27-Gallon Heavy Duty Tote
    2. Target – Sterilite 27 Gallon Industrial Stacker Tote
    3. NIST (National Institute of Standards and Technology) – Unit Conversion 

    4. OSHA – General Requirements for Materials Storage (29 CFR 1926.250)

    5. Moving.com – Moving Box & Storage Container Size Guide 

    6. Rubbermaid Commercial Products – Storage & Material Handling

    7. The Container Store – Garage & Heavy-Duty Storage Solutions

Your Questions, Answered

How do you organize deep pantry shelves so items don't get lost?

Use pull-out bins or sliding drawer inserts so you can access the full depth of the shelf. Store items in clear containers so you can see what’s there without moving things around. Arrange items in rows by category, with the tallest at the back, and label everything clearly.

Line wire shelves with a shelf liner to prevent items from tipping. Use bins or baskets with solid bases to keep smaller items stable. Pull-out wire baskets designed for wire rack systems are the most effective long-term solution for deep wire pantry shelving.

Store everyday items at eye level for the easiest access. Place heavy items—like canned goods or bulk bags—on lower shelves to reduce the risk of injury. High shelves work best for backup stock, rarely used items, or lightweight supplies you only need occasionally.

Do a light reset weekly—takes about five minutes. Check expiration dates and restock items in their correct zones. Every three to six months, do a full clean-out: remove everything, wipe shelves, and reassess your system based on how your pantry use has changed.

Dollar stores and discount retailers carry solid basics: wire baskets, clear bins, and simple turntables. IKEA pantry shelf organizers—including their modular bins and drawer inserts—offer good value for the price. For a DIY approach, repurpose shoeboxes as shelf dividers or use magazine holders to keep flat items like cutting boards and baking sheets upright.

Recent Articles

Sign up for Newsletter

Categories

Share

More..

Leave a Reply

Your email address will not be published. Required fields are marked *